Learn how to create and manage Safety Meetings for your productions/locations and view them once logged
Please watch the following video on how to access report functions including completed Safety Meetings at Account Level (2.39)
Read on for step by step instructions …
How to create a Safety Meeting
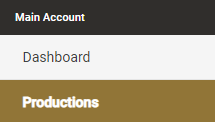
To create a Safety Meeting you need to click on Productions on the left-hand side of the main menu.
Once you have clicked on Productions you will be presented with a list of sites that have been added to the software. Choose the production/location you wish to create a Safety Meeting for and click on Edit.

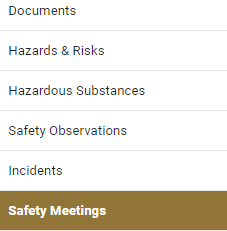
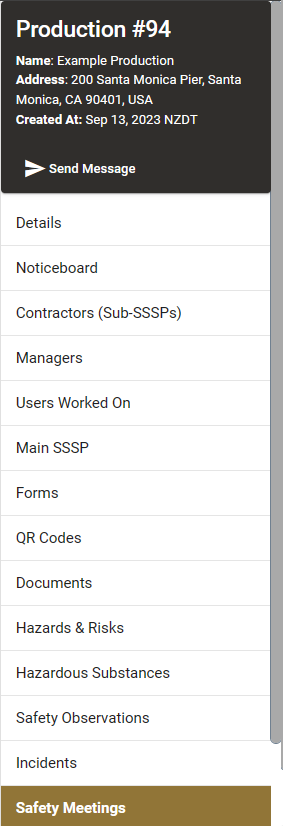
This will take you to the production/location you have chosen. The name of the location will show at the top with a list of tabs below it. Choose and click on the Safety Meeting tab.
The next screen will give the option to create a new Safety Meeting. Click on the +New button.

Naming and creating an agenda for your Safety Meeting
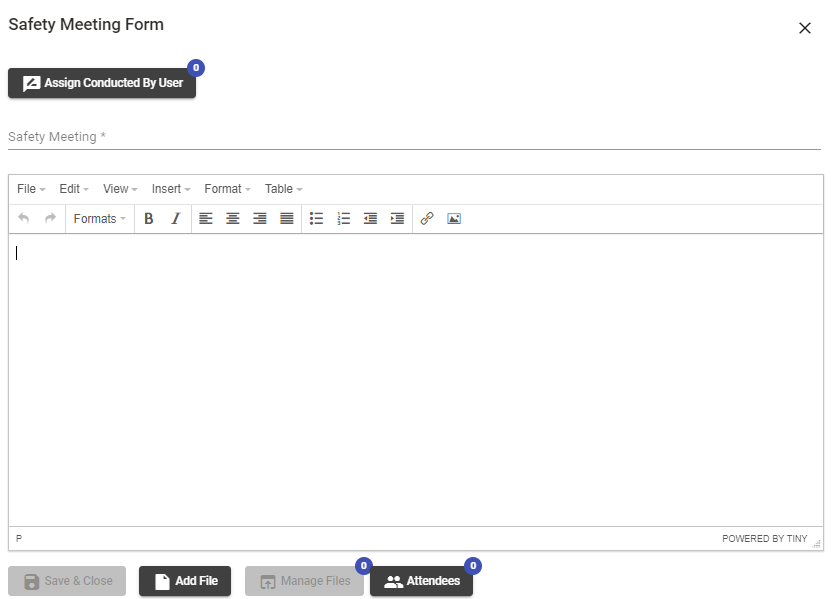
This will open a new dialog window where you can enter the name and agenda of the Safety Meeting.
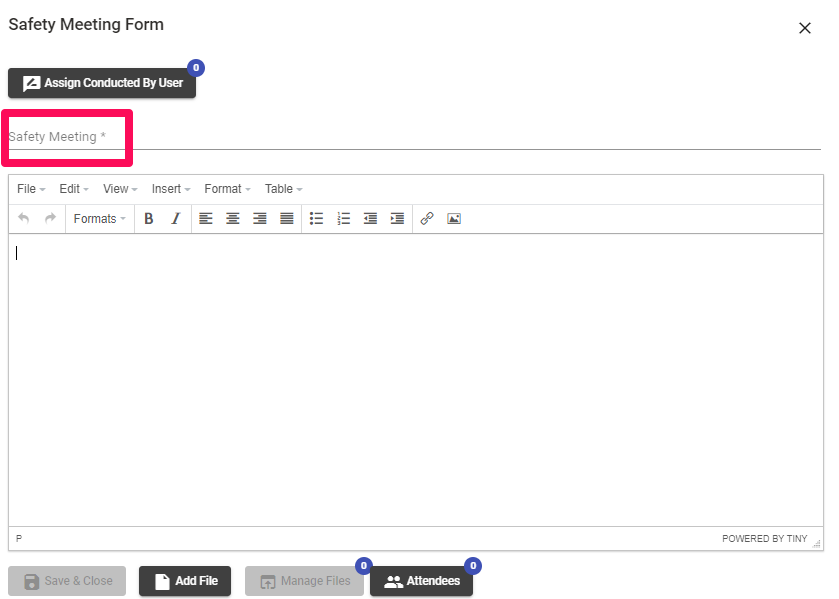
Click on the Safety Meeting heading to enter the name of your Safety Meeting.
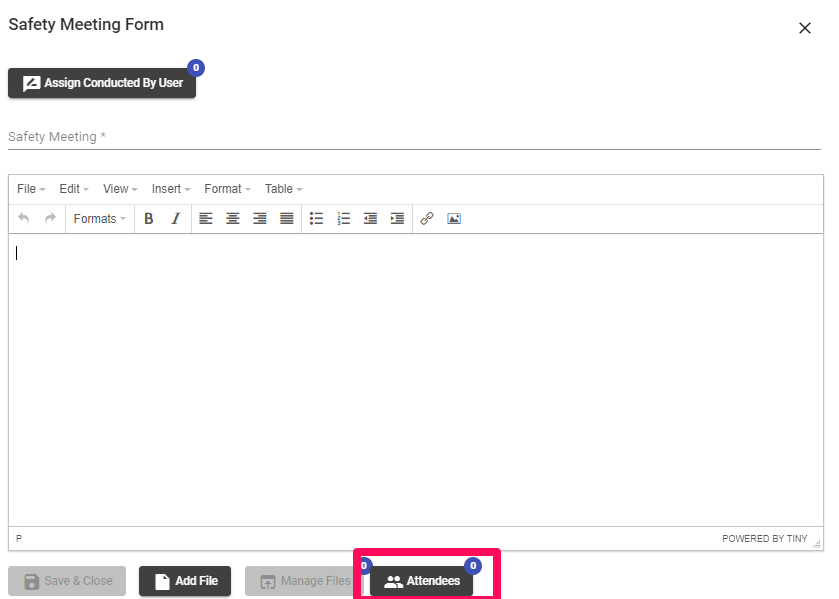
Adding Attendees to the Safety Meeting
Click on Attendees to list the name of the personnel attending the Safety Meeting.
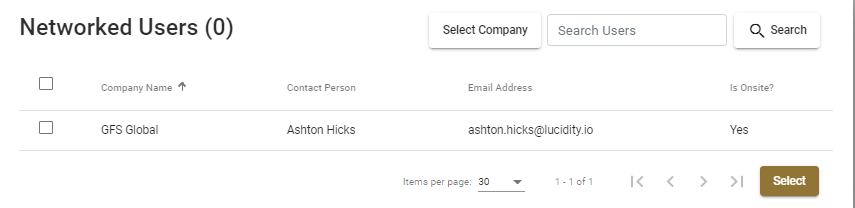
A list of all users connected to your network/production (including visitors) will display showing those who are currently signed into site first with a ‘Yes’ to the right of their name followed by all other users. You can also scroll to find the relevant person or search for them via the search bar at the top of the page. Click in the square box to the left of their name to add them as an assignee. Once all assignees have been selected click on the ‘select’ button.
Once you click on Select this will take you back to the Safety Meeting dialog box and the number of attendees will be recorded against the Attendees Tab.
You can also appoint who conducted the Safety Meeting from here by clicking the Assign Conducted by User button up the top.

Adding Media to your Safety Meetings
You can upload supporting files for your Safety Meeting by clicking the Add Files button and uploading files.
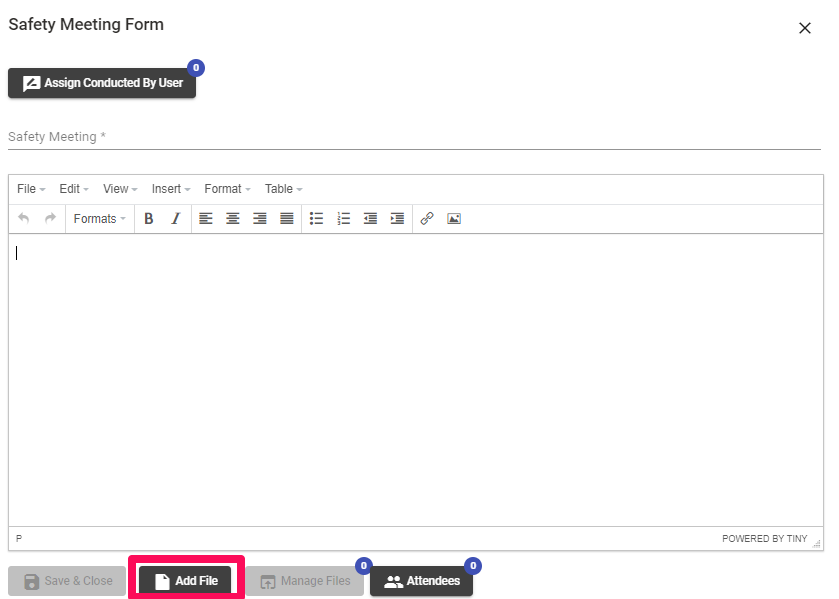
We highly recommend uploading PDF documents only.
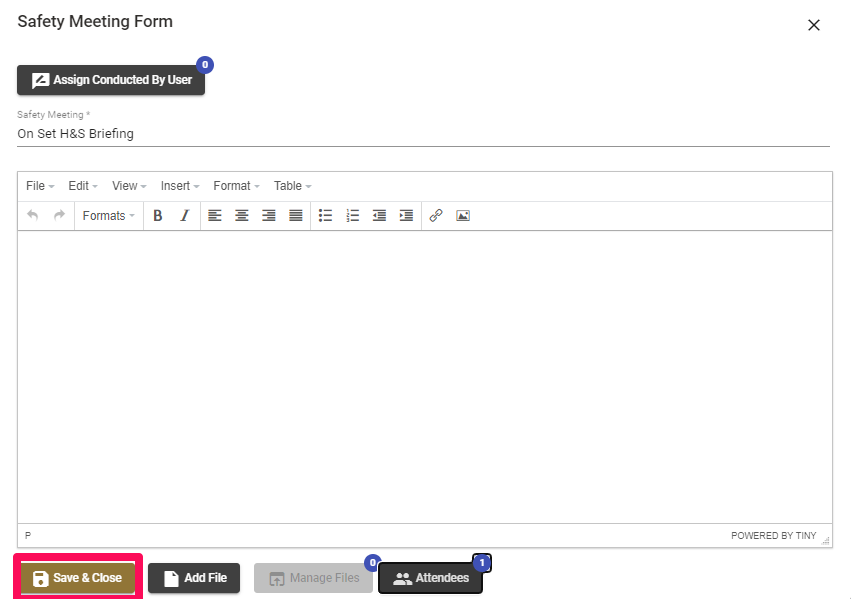
Saving your Safety Meetings
Once you have named your Safety Meeting, recorded your agenda, added your attendees and any media then click on the Save button
Viewing completed Safety Meetings
You can view completed Safety Meetings at either Account level or Production/Location level.
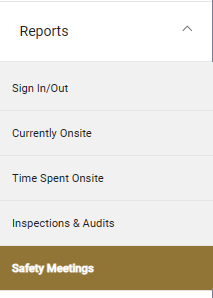
To view at Account Level go to the Reports tab in the main menu on the left-hand side and click on Safety Meetings
A list of your completed Safety Meetings for all your Productions/Locations will display.
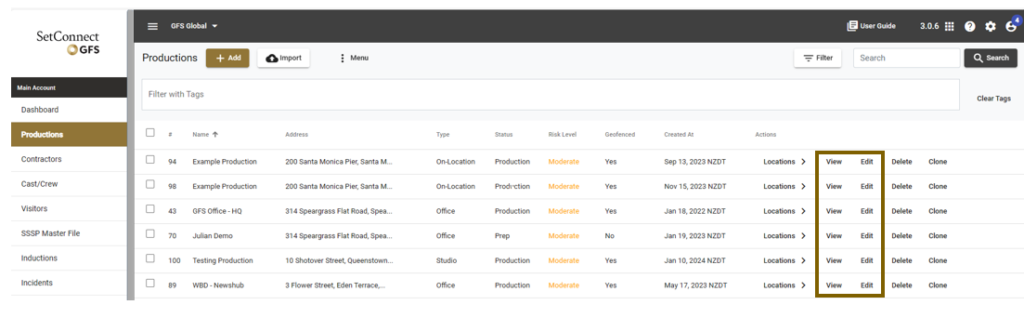
To view at Production/Location Level go to the Production tab in the main menu on the left and click on either View or Edit to the right of the applicable Production/Location.
Then click on the Safety Meetings tab on the right-hand side menu and a list of your Safety Meetings for that Production/Location will display.
You can click on Edit to the right to edit them or View to view them. You can also clone or export them to either a PDF or CSV file.

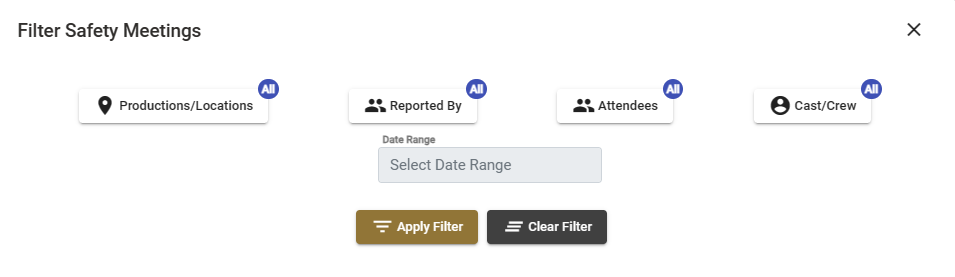
You can also Filter on them by clicking on the Filter button.
For any SetConnect issues or questions please contact us at: info@set-connect.com