Here you will learn how to create a Site Specific Safety Plan for a specific production/location in your SetConnect account.
How to collate a SSSP for a production/location
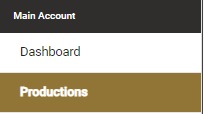
Go to the Productions tab on the Main menu and click on Edit on the right-hand side of your chosen Productions/Location

Click on the Main SSSP tab on the right-hand side.
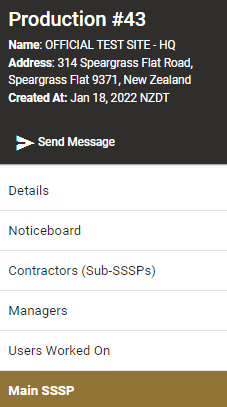
Click on Create Master SSSP if you have not yet created one for the site.
To upload generated documents from data entered in the Production Tabs click on SSSP Settings.
A list of options to include in your SSSP document will appear. You can also record a description and location of the work you are doing by entering it in the below fields.
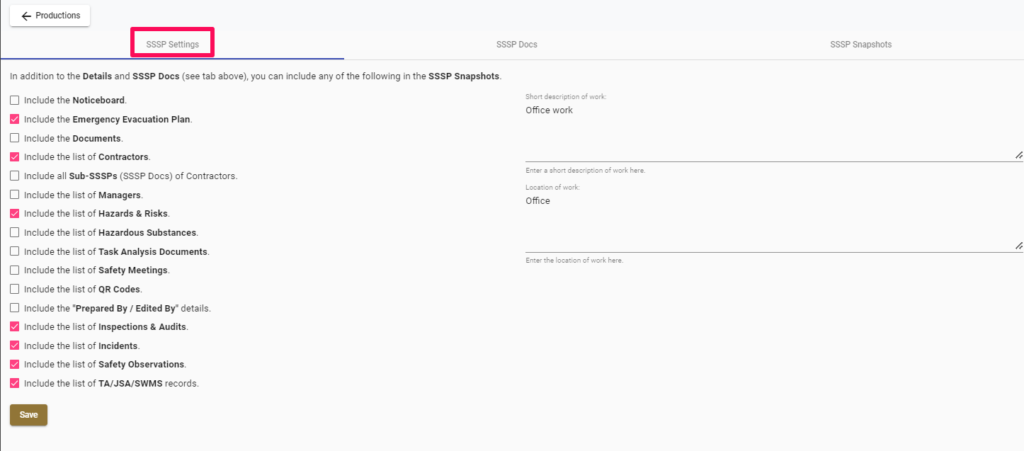
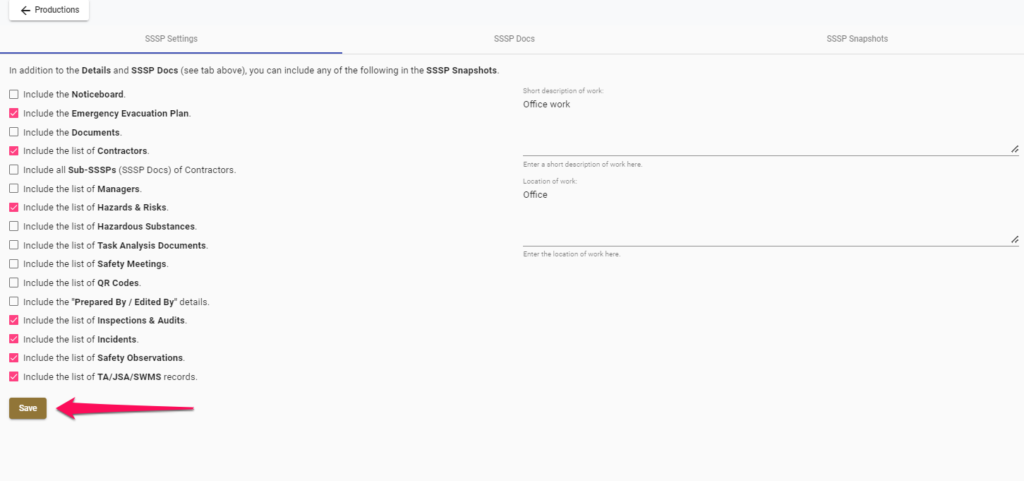
Click & tick off the items in the left-hand column that you wish to include and then click on Save Config.
Once you have configured the documents you require, you can create a snapshot of those documents in a Zip folder in the SSSP Snapshots Tab.
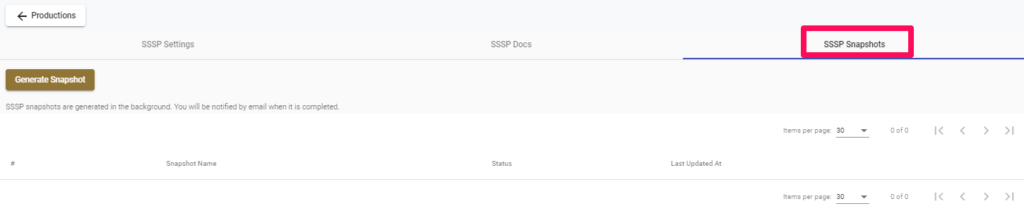
How to create a snapshot Zip folder of your documents
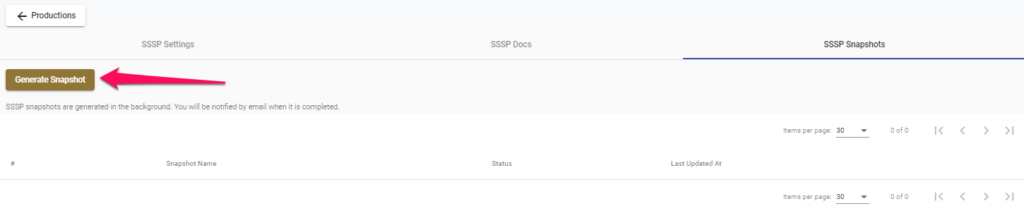
Click on the SSSP Snapshots tab and then click on the Generate Snapshot button on the left-hand side. This will generate a snapshot of your documents and create a Zip folder that you can download and view.
Once you have downloaded the zip folder (snapshot) you can double click on the folder and view the individual documents that have been created.
How to load external documents
You can load external documents by clicking on the SSSP Docs Tab.

Click on Add Document.

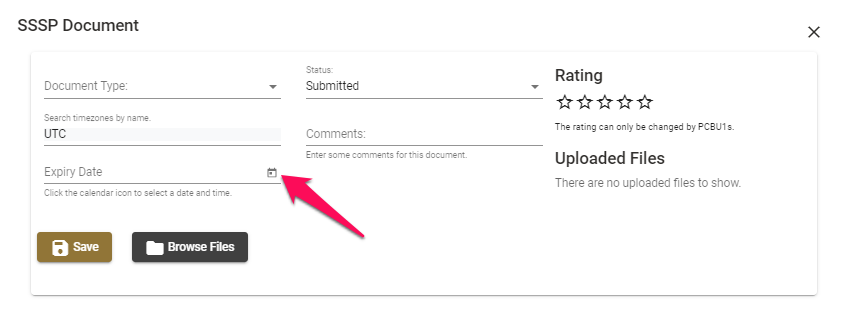
The below dialog box will appear.
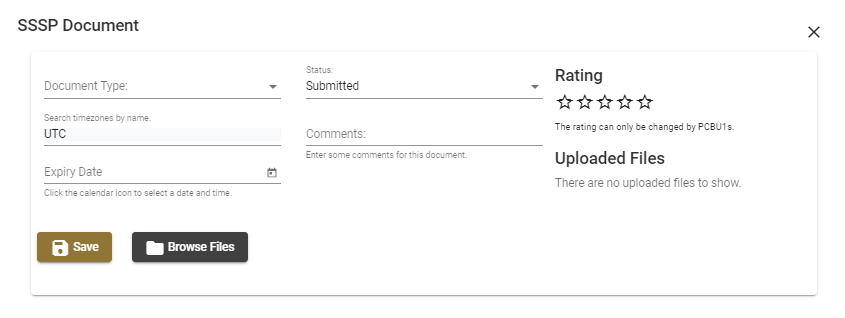
Within this dialog box you can:
1. Click on the down arrow for Document Type and choose from the following drop down list:
- Hazard Register
- Hazardous Substance Register
- Task Analysis
- Training/Competency Register
- Safety Meetings
- Emergency Response Plan
- Incident Register
- Induction
- SSSP
- Other
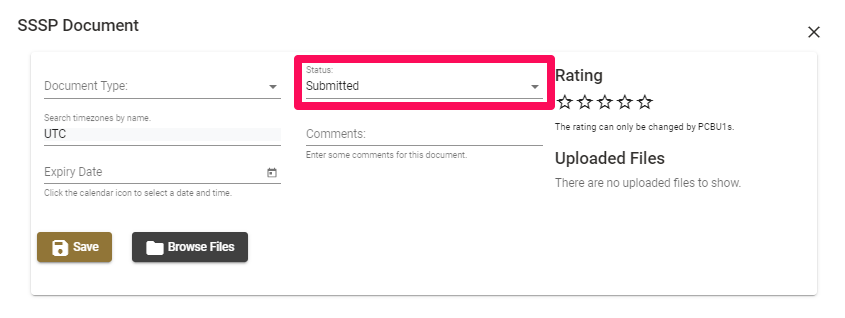
2. Choose the status the document is in: The default selected status is Submitted.
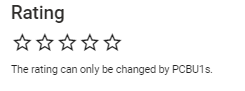
3. You can rate the document from 1 star being poor to 5 stars being excellent by clicking on the stars.
4. You can set an expiry date if applicable:
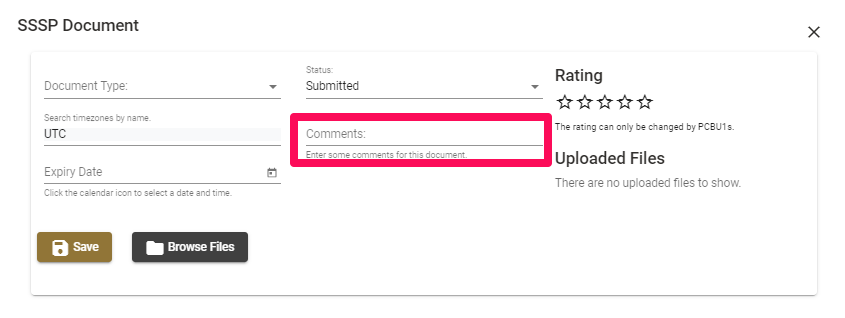
5. You can make comments about the document:
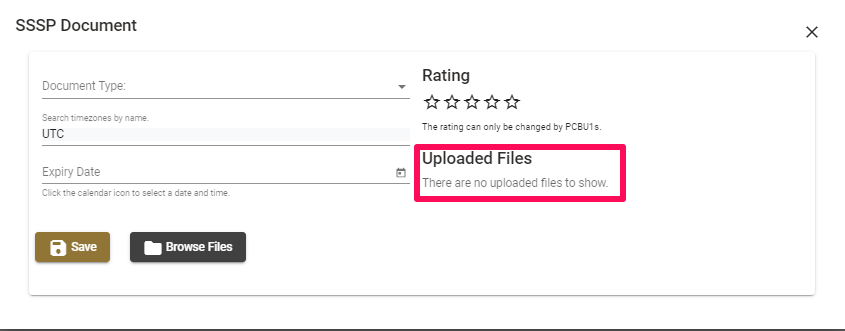
6. You can upload files by clicking on Browse Files:
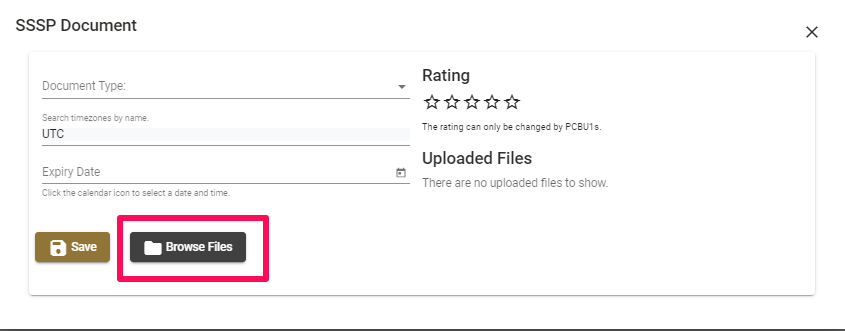
Click on Save. Once you have clicked on Save the file will be uploaded and show under Uploaded Files heading on the right-hand side.
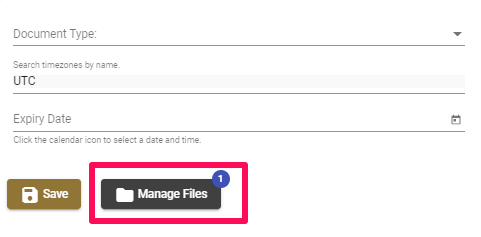
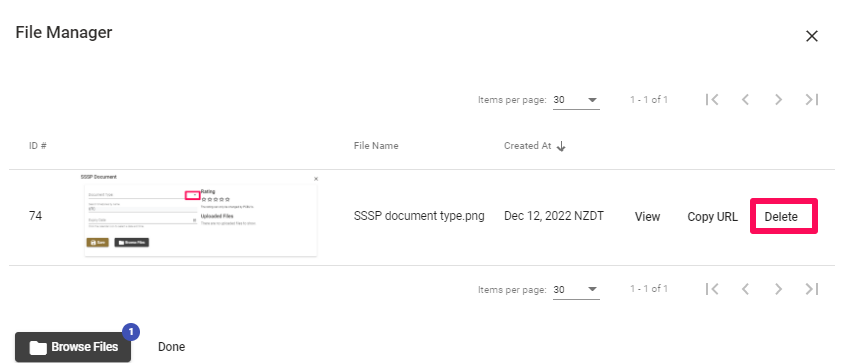
To remove a file, click on the Manage Files button, then click on the Delete link next to the file you want to remove and then click the Done button.
Once you have completed these steps you can generate another Snapshot of your documents. When you add your own files to the SSSP Docs tab, it will be included in SSSP Snapshots.
For any more SetConnect issues or questions, please contact us at info@set-connect.com