Here you will learn how to create and manage Tasks and assign them to your Productions/Locations within the SetConnect Web Portal.
Please watch the following video on how to create and manage tasks (2.44)
Read on for step by step instructions …
Tasks Menu
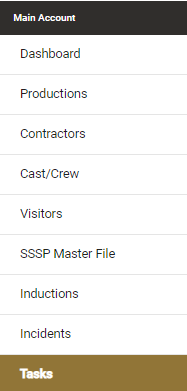
On the left hand side menu of your Set Connect web portal please go to the Tasks option
Creating and assigning a Task
From here you will see the below screen. Click on Add Task to create a task.

This will pop up with the following dialog box. You will be able to fill in the following:
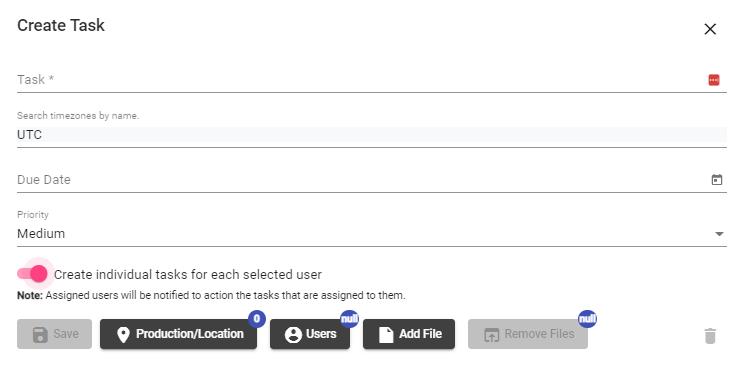
- Task name (compulsory field)
- Due Date (can be selected by clicking the calendar icon on the right hand side)
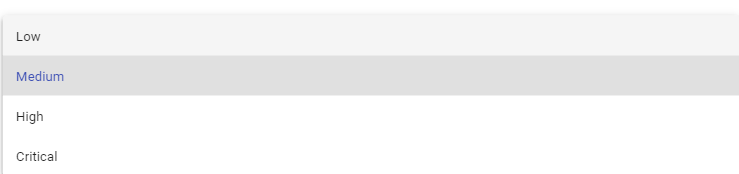
- Priority Level (select from Low, Medium, High or Critical via dropdown menu)
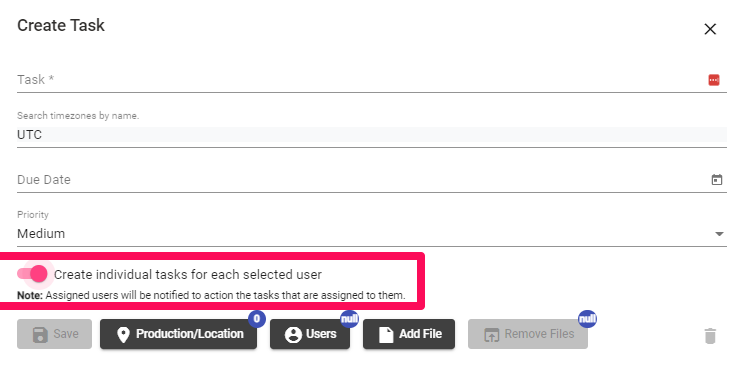
You can also choose to toggle on Individual Tasks for each Selected User. If you toggle this option on, each user the task is assigned to will need to complete the task. If you leave it toggled off then the first person to complete the task closes the task.
An email notification will be sent to each User this task is assigned to and it will display in the Tasks menu on the Home screen of the App.
Once all of these details have been filled in, you can assign the task to user(s), upload any files/photos and also associate the Task with specific Productions/Locations by clicking on the relevant black tabs.
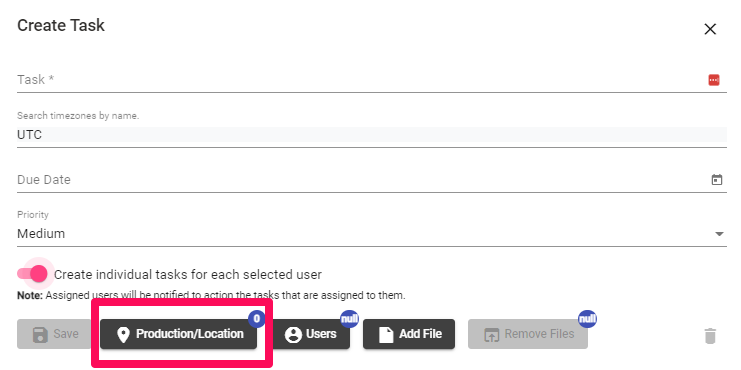
The number of productions/locations you have assigned the Task to will appear in the blue circle next to the Productions/Locations tab.
Once you have populated all the fields, click on Save.
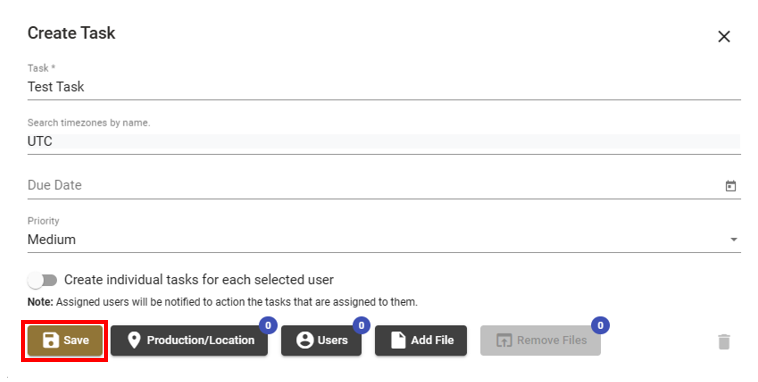
The task will then display in your list of Tasks.

Viewing and closing Tasks
In the task list you will see all your tasks, which will either be in an open or closed status. The assignees can close the tasks via the Mobile App or you can manually close them in the Web Portal by clicking on the toggle button.
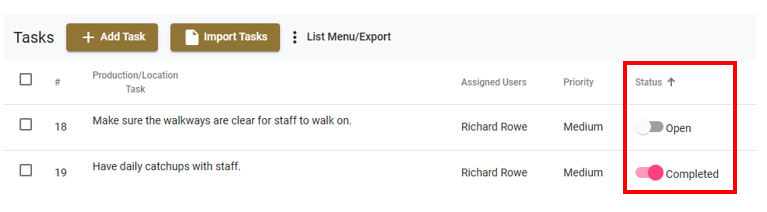
You can also choose to View, Edit or Delete the Task.

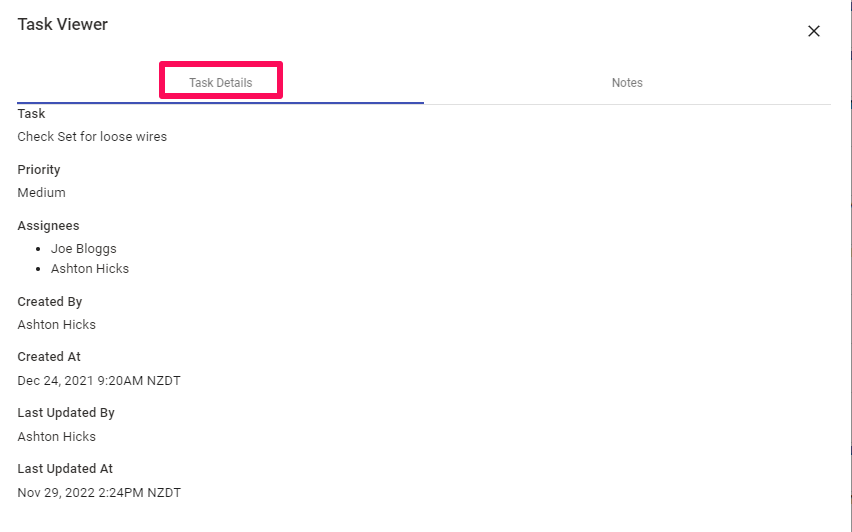
View will bring up information around the Task including the date it was created and updated.
Adding notes to a Task
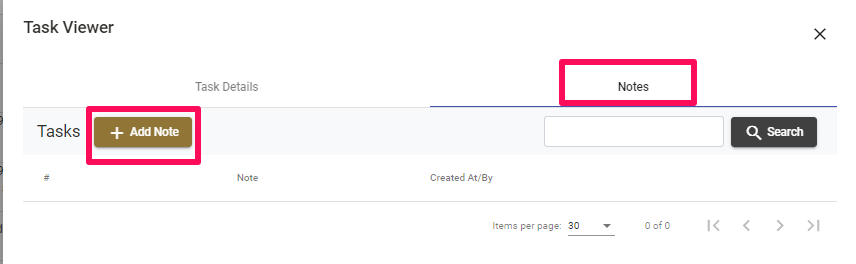
You can add Notes to the task by clicking on the Notes tab up the top of the Task Viewer screen.
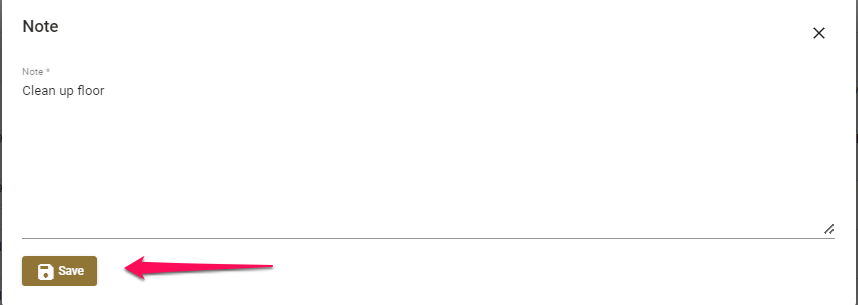
Type in your notes and click on Save once completed.
Editing a Task
Editing the task will bring up the Task creation dialog box where you can update the information and details for that Task.
Deleting a Task
To delete a Task click on the Delete button to the right of the relevant task.

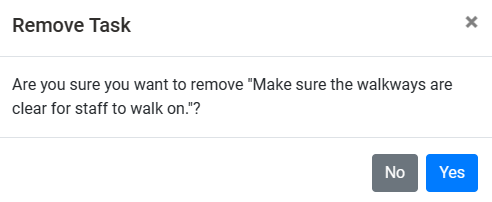
The below dialog box will display. Click on Yes to delete the task or No to go back
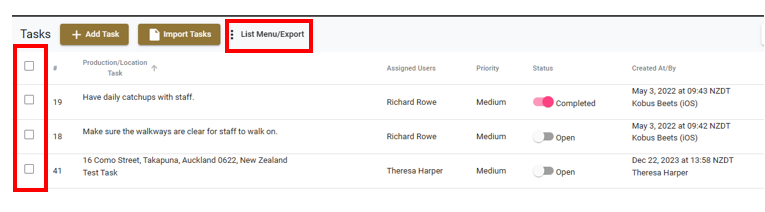
Exporting Tasks
You can also choose to Export your Tasks as a CSV, PDF or XLSX file by clicking the List Menu/Export button next to Add Task.
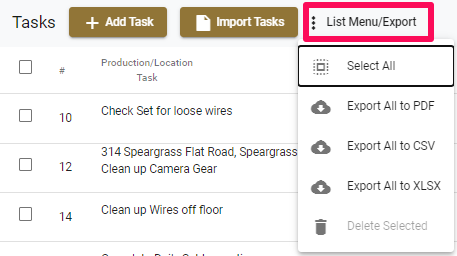
If you want to export selected tasks then click in the box to the right of the task(s) you want to export and it will only export the selected tasks.
For any SetConnect issues or questions, please contact our support team by email at info@set-connect.com