You can now bulk import Tasks from a CSV, XLS or XLXS file and assign each Task to the appropriate user(s)
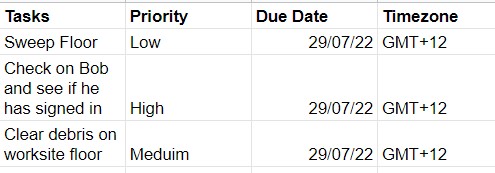
To bulk import Tasks, you will need to first set up a CSV, XLS or XLXS file with all of the Task names in one column.
You can also include the Priority of the Task, the Due date and the relevant Time zone of each Task. Please note that these fields are not compulsory.
Then once you have loaded up all of your Tasks download the file to your PC.
In the SetConnect web portal, you will then go to Tasks in your main menu
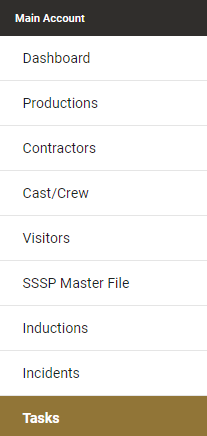
This will bring up a list of all the created Tasks from your connected network. To import your Tasks click on the Import Tasks button at the top of this page

Then click on Select a File. This will open up your browser where you can select the CSV, XLS or XLSX file you want to download.
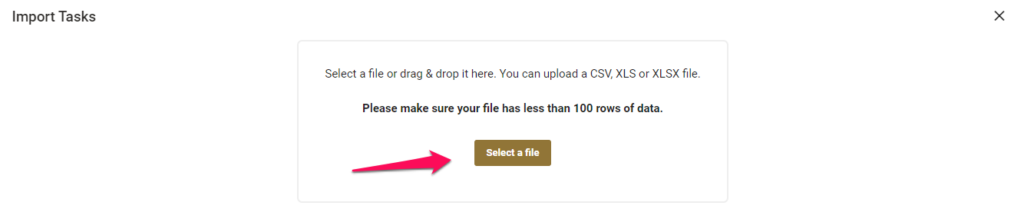
Once you have selected your file a sheet selector will appear at the bottom. Click this and select Sheet 1, then click Confirm to start importing.
This will then bring up the screen with all of your columns displayed. You will need to map each column to the appropriate dataset by clicking Map Field above each column and selecting the appropriate information set that each column relates to.
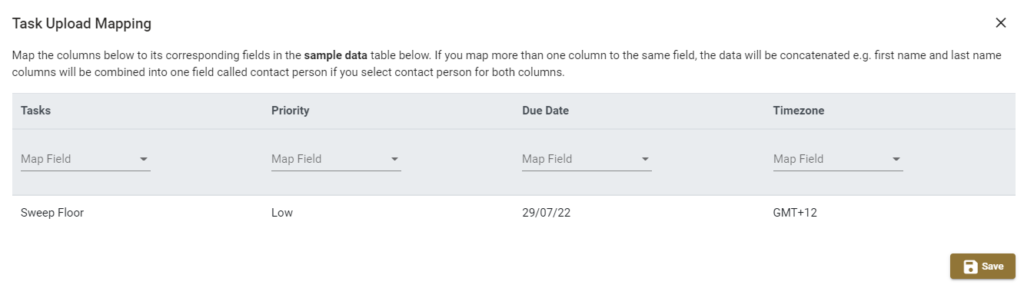
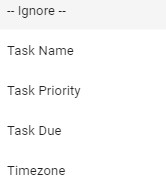
You will get to choose from the following options when mapping your fields or you can click Ignore to dismiss that column entirely from the import
Once you have mapped your fields appropriately click Save down the bottom to continue.
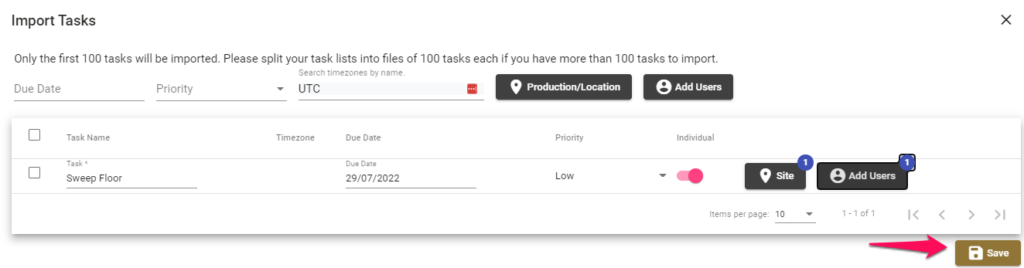
This will then bring up a screen where you can assign the Tasks either in Bulk or separately.
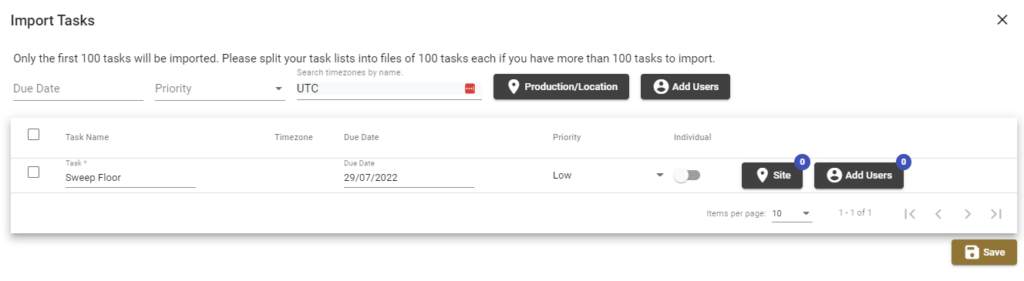
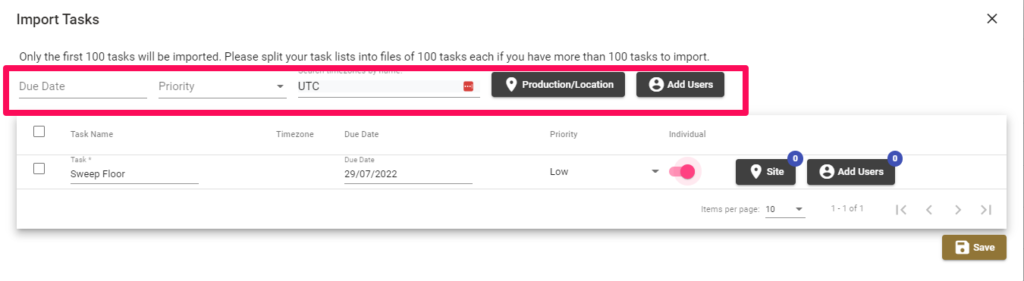
Use the top line to bulk assign all the Tasks you have imported to specific Productions/Locations & Users all at once
Or you can use the individual tasks below this to assign each task individually to different Productions/Locations or Users respectively.
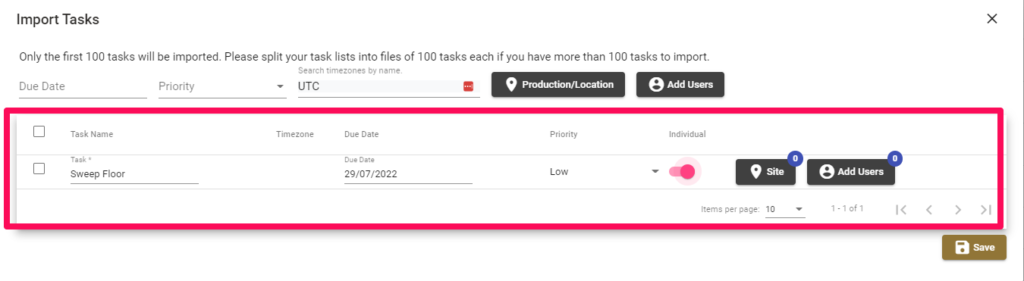
To assign a Task to a specific Production/Location, click on Site for that Task (or all Tasks by using the top line) and then select the appropriate Location from the menu which appears.
And you can select specific Users, by clicking Users and then selecting them from the list which appears which will show all users in your connected network
You can also choose to set a particular Task to be an individual task by toggling the Individual option ON (Gold) for that Task.

If Individual is ON (Pink), this means that if you have assigned multiple users to this Task they will each get an individual task and all of them need to complete this separately.
If this option is OFF (Grey) then if one of the assigned users completes the Task , it completes the task for all users who have been assigned the task, i.e. only one of the assignees needs to complete the task.
Once you are happy with your assignments, click Save down the bottom to complete your import and notify your assignees of the Tasks you have assigned them.
If a Task does not have anyone assigned to it you will receive a warning message and will be unable to Save your tasks. You will need to go back and assign that Task to a user or Production/Location in order to finalise your import
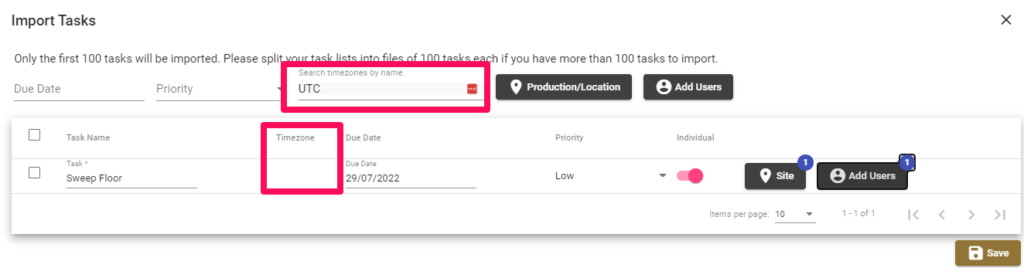
You may also get a message that you need to fill in all relevant time zones
An easy way to fill these in is to select the appropriate time zone in the top line and this will auto fill the rest of your Tasks out automatically.
If there are any issues with no Task Priorities associated with any of your Tasks you will also get a message ‘Task Priority Required – some priority values are not valid and will be defaulted to ‘Low’ when imported – No / Yes’ when attempting to Save
You can either go back and fill in the empty priority for your Task(s) or click Yes to auto default it to the Low Setting.
Once you have Saved and all necessary fields have been filled in, you will get a confirmation message and your Tasks will start importing in the background.
You will then get an email when the import has been completed and all assignees will also receive an email advising them that they need to go and complete the Task via the SetConnect Mobile App
For any SetConnect issues or questions please contact us at: info@set-connect.com