In the Forms feature, you can now approve Forms that users have submitted and allow them to tick off when the related external work to this Form has been completed.
Approving a Form
To approve a Form that has been submitted by any user, go to the Assigned Forms menu on the left-hand side of the web portal. This will be under the Forms dropdown in the side menu.
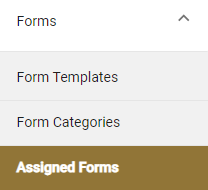
Then click on View Responses for the form record that you want to approve (or reject).

Then click on View Submitted Answers, a blue box will come up at the top where you can write notes and approve the Form submission.

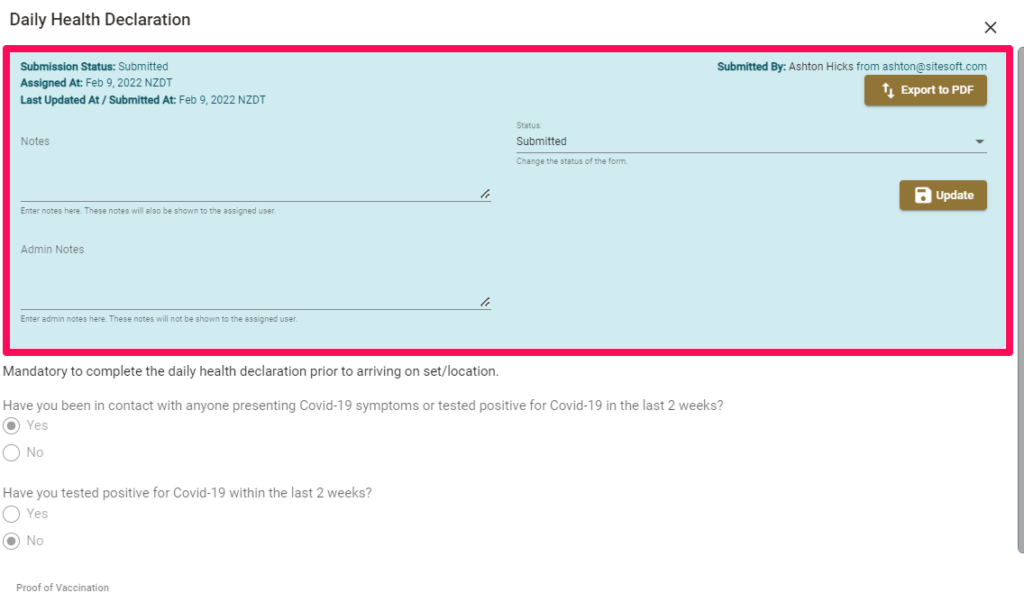
Here you will be able to action the following:
- Notes- write any notes that will be visible to you and the user that has completed the Form
- Admin Notes- write notes that only administrators will be able to view
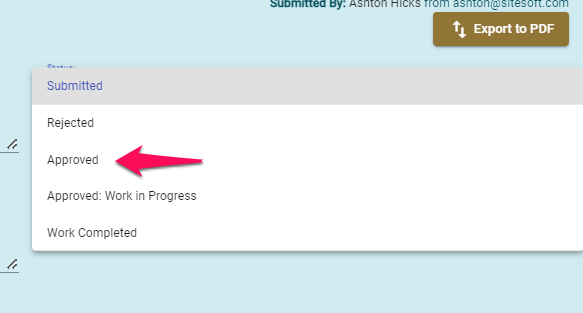
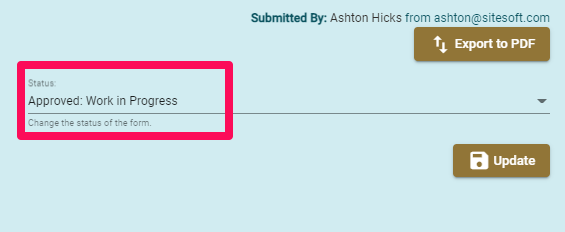
You will also have the Status dropdown. This is s where you will go to approve or reject your Form. Click the Status dropdown to change the status to one of the following options: - Submitted
- Rejected
- Approved
- Approved: Work in Progress
- Work Complete
To Approve the Form, simply change the status of the Form to Approved
Then click the Update button to action this change in status.
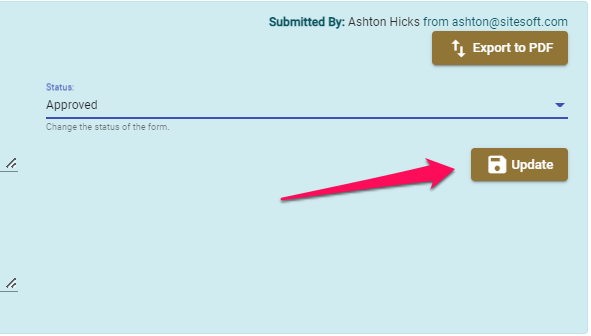
This will then email the user and they will be able to see this changed status when they view that same Form in their My Forms list from the App.
If you select Approved: Work in Progress, this will notify the user by email that the work has now been approved and the status will change on their Mobile App. The user will be able to make comments and complete the work.
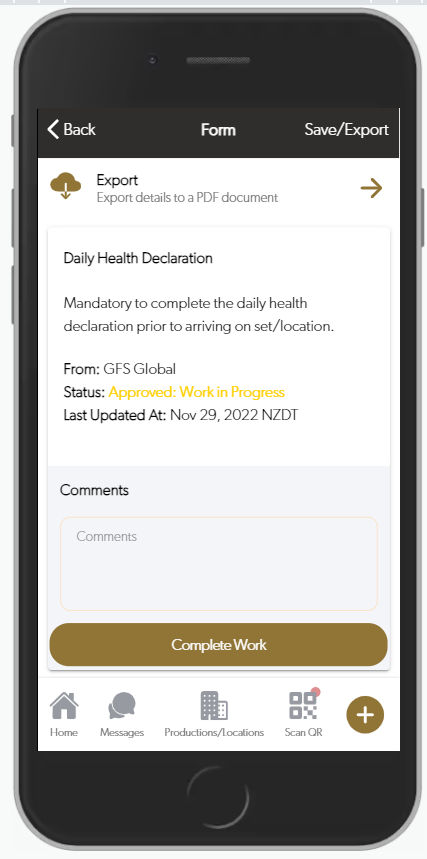
Once the worker clicks on Complete Work the status in the Web Portal will change to Work Completed and a notification will be sent to whomever has been selected to receive the notifications. That person can they click on Verify in the completed form to confirm that the work has been completed and verified.
Rejecting a Form
If you select Rejected a notification will be sent to the user who submitted the form advising that the form has been rejected and they will be able to go back into the form and make amendments before resubmitting it. You can also make comments in the notes field which the user will be able to see to assist them in amending the form.

Viewing Audit Logs
To view the Audit logs for a form once it has been submitted or is pending approval go to the Form and click on view submitted answers. Within the blue screen you will see an option called Audit Logs. Click on this button and a list of Audit logs for this submitted form will display.
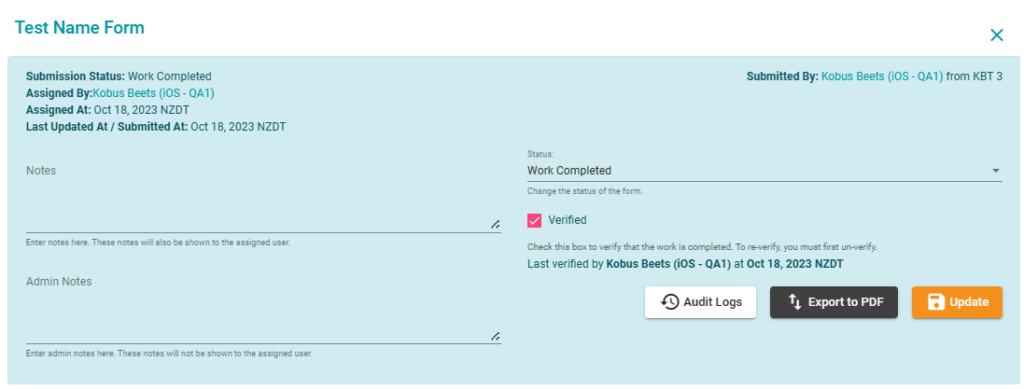
To export the form to a PDF click on the Export to PDF button to the right of the Audit Logs button. The PDF export will include the Audit logs at the bottom of the PDF.
To learn how to export the form to an XLSX file click on the link – How to export forms to a XLSX file
The audit logs are restricted to form status and verification changes. It does not include user answer changes to input fields. It also currently excludes changes to admin notes and comments.
Audit logs are only viewable for forms submitted on or after 24 Oct 2023
For any SetConnect issues or questions please contact us at: support@setconnect.io