Learn how to create and manage your cast and crew within the Set Connect Web Portal
Please watch the following video on how to Create and Manage Cast and Crew (3.04)
Read on for step by step instructions …
How to add a Cast/Crew member
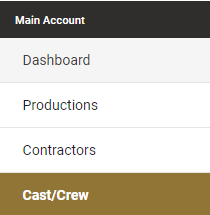
To add a new Cast/Crew member, click on the Cast/Crew tab on the left-hand side of the main menu.
Once you have clicked on the Cast/Crew tab a new screen will appear titled Cast/Crew which will list all your Cast/Crew members. To add a new cast/crew member, choose and click on the gold button titled +Add Cast/Crew

How to enter an Cast/Crew details
Once you have clicked on +Add Cast/Crew a new dialog box will appear. In this dialog box you enter the details of the cast/crew. The first details to enter, which are compulsory are:
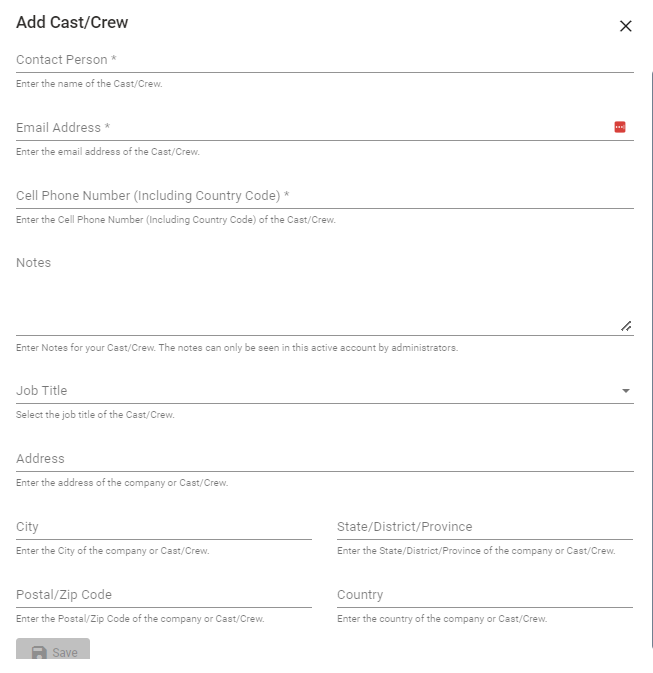
- Contact person – enter the name of the Cast/Crew members
- Email address – enter the email address of the Cast/Crew members
- Mobile number – enter the contact number of the Cast/Crew members
- Job Title– enter the job title of the Cast/Crew member
- Address- Address of employer or Cast/Crew member if appropriate
- Suburb- relates to address
- Postal Code
- City
- Country
The system will automatically generate the user name for log in purposes based on the email address of the Cast/Crew member. However, if that email address is already been used it will nominate the member’s name as the username, i.e. joebloggs
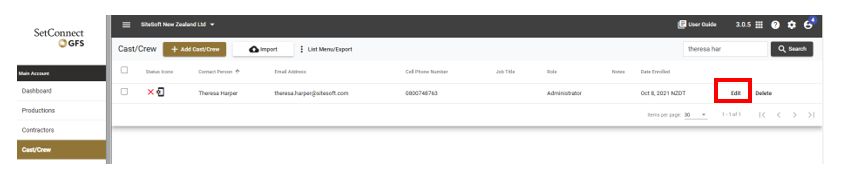
Once you have entered the above details click on Save and this will save and load this member into your profile taking you back to the main Cast/Crew list and will display those member’s details as per below image.

How to change Cast/Crew‘s role from Employee to Administrator
Once an Cast/Crew member is created in the system they will automatically be set up as an Employee giving them limited access to the system. To give them full access to the system you will need to change their role to Administrator. To do this you need to click on the Edit option to the right-hand side of the screen.

This will bring up the members details. On the right-hand side of the screen you will see a black box which lists the main details for that member. Inside that box you will see a statement which says either Switch role to Administrator or Switch role to Employee. To switch this member to an Administrator, click on this statement and it will automatically change their role to Administrator. Vice versa if you want to change a cast/crew member from an Administrator back to an Employee.
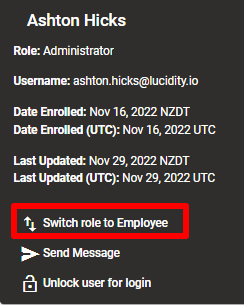
Once you have clicked on this statement it will bring up a dialog box asking you to confirm if you want to make this change. Click on Yes and this will change the member’s role from Employee to Administrator giving them full access to the system.
How to Delete Cast/Crew
Click on delete to the right-hand side of their name

You will then be asked to confirm – click on Yes.
Email Confirmation to Cast/Crew
When any Cast/Crew member is generated in the system they will be sent an email with their username requesting them to log in to the system and create their password.
Once they have done this they can log in to both the Web Portal and Mobile App but remember anyone set up as a Cast/Crew member can only view the Dashboard, QR Codes and Pre-Qualification items in the Web Portal.
Confirmation that Cast/Crew have logged into the Mobile App & completed their Induction
In the status icon column you will potentially see two Icons.
- Induction Status
- Mobile App Status
Induction Status
A red X, orange tick or green tick indicates whether or not the inductions assigned to that cast/crew member have been completed.
A red X = induction(s) have not been started
An orange tick = induction(s) have been partially completed
A green tick = all induction(s) are complete
Mobile App Status
Once they have logged into the Mobile App a Mobile Icon will appear in this field which confirms that the Mobile App is set up and ready to use.
If you hover over the Mobile Icon this will reveal the version of the App being used.

How to view forms assigned to your Cast/Crew
You can view forms assigned to your cast/crew by going to the Cast/Crew tab and clicking on Edit to the right of the person’s name that you want to view.
You will then see a a tab on the right titled Assigned Forms
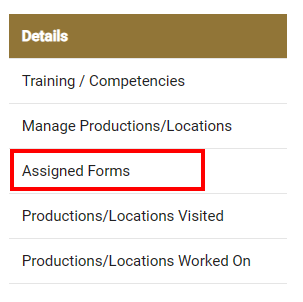
Click on the Assigned Forms tab to see a list of Forms that have been assigned to the cast/crew member and the status of the Form. If in submitted/approved status you will be able to click on view submitted answers to see how they have responded to the form.

How to send a message to a Cast/Crew
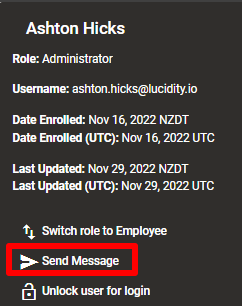
You can send a message to Cast/Crew by clicking on the edit button on the right-hand side of the members details.

This will open a new screen with the member’s details. On the right-hand side of the screen in the black box click on Send Message.
A new dialog box will appear called Compose Message. In this dialog box you can compose a message:
- Select the message type – Email, Push notification or SMS (SMS needs to be enabled for your account – if not enabled contact Support)
- Select the message priority – low, normal, high or critical
- Schedule to send later – click on the calendar icon to schedule for a later date if required
- Subject – enter your subject title
- Main body – enter the content of your email
- Attach files – you can attach a file(s) to the message

Once you have completed your message click on Save and then Send Message. If you don’t want to send the message at that time do NOT click on Send Message and the message will be saved in draft format for you to review at a later date.
How to dequeue the message
Once you click on send message you have 1 minute to dequeue the message and retrieve it back for further editing or deleting.
To retrieve the message go to the messages menu on the left-hand side of your screen.
Locate the message and click on Dequeue on the right-hand side of your screen.

Once you click on Dequeue you will be asked to confirm if you want to dequeue this message. Once you click on Yes the message will be deleted.
How to edit the message if still in draft format
If you have not clicked on send message the message will stay in draft format. If the message is still in draft format you can edit the message by clicking on Edit in the right-hand corner of your screen and edit the message.
How to delete the message if still in draft format
Whilst still in draft format you can also chose to Delete the message by clicking on Delete on the right-hand side of your screen.

Once you have clicked on Delete you will be asked to confirm ‘that you want to remove this message’. Once you click on Yes the message will be deleted.
If you need any further help or have any questions please contact the support team by email at info@set-connect.com