General Form Settings
In the Form Builder, you have filled in your required fields and have created your form to your liking, go to your Form Settings by clicking the highlighted tab.
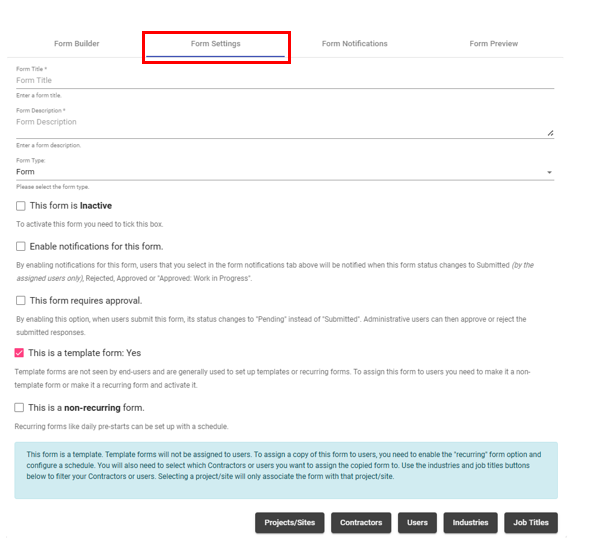
From here you can fill in the Name of the form, a Form Description and the type of Form (can choose from Form or Site Induction.
You also need to go through the following options:
- Inactive or Active- Active forms will be able to be sent to Users or will be activated at a later date. Inactive forms will not be activated.
- Enable Notifications for this form- you can tick this on and off to enable notifications that will be sent to all selected users within your network when a User submits answers to this form. Please note that you cannot select the users that ill be notified of this until after you have saved. For more information please see here.
- This form requires approval – By enabling this option, when users submit this form, its status changes to “Pending” instead of “Submitted”. Administrative users can then approve or reject the submitted responses.
- Template Form : Yes or NO- Template forms are not seen by end-users and are generally used to set up templates or recurring forms. To assign this form to users you need to make it a non-template form or make it a recurring form and activate it. You will see the auto assign options appear when you untick this option.
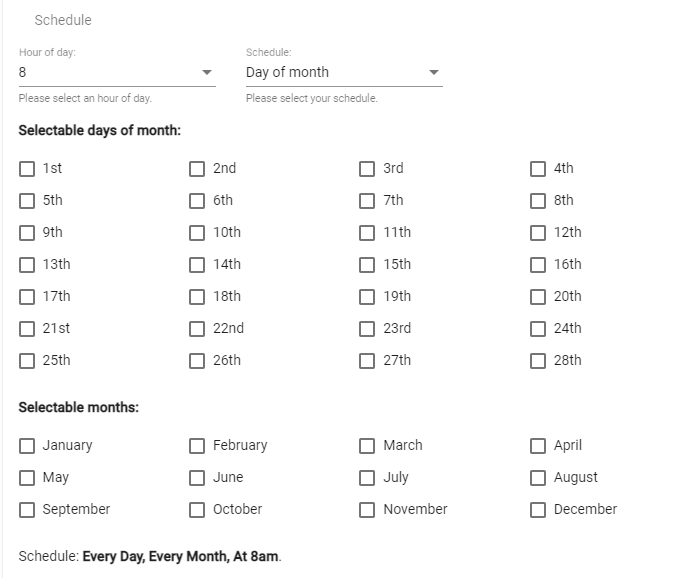
- Recurring Form- Recurring forms like daily pre-starts can be set up with a schedule. When you toggle this option on, you will be able to set up a recurring schedule for this form e.g. this form will repeat weekly on Tuesdays at 9.30am.
Site Inductions and Assigning Forms
If you select Site Induction as the Form Type (or untick the Template option in a normal Form), you will receive these options below:
You can choose to Activate the form by ticking the top option and auto assign the form to users in your connected network, cast/crew or users entering selected Productions. Then you can filter/narrow down this selection with the Productions/Locations, Departments/Contractors, Users, Industries and Trades buttons down the bottom.
Click either one of these options and tick/search for the ones you want to assign the form to.
Please note that this induction will not be auto assigned under any of these settings until it has been made Active much like the standard Form type.
Once all of your Settings have been completed, you can then Save your Form.
Form Notifications & Display Conditions (Post Save Features):
Once you Save your Form, the following features will then become available for you for further editing:
- Form Notifications- the Form notifications tab will now show a User selector whereby you can select who gets a notification when a User submits answers to the form.
The Form Notifications tab will only show you a message requiring you to Save if you have not done so.
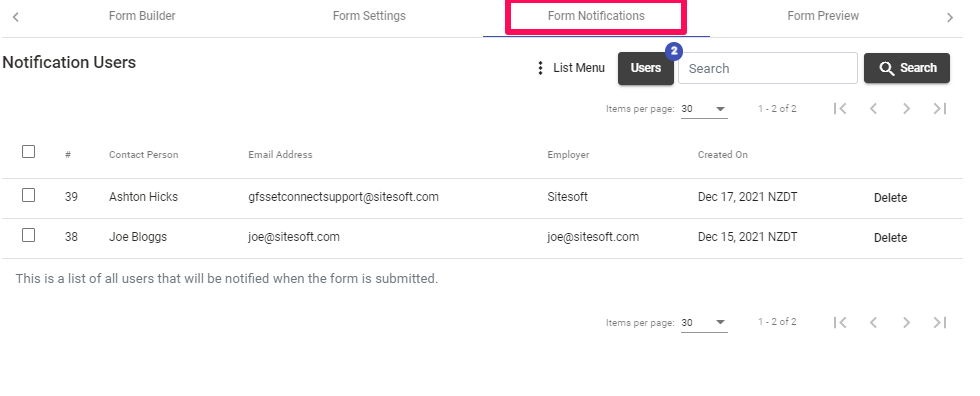
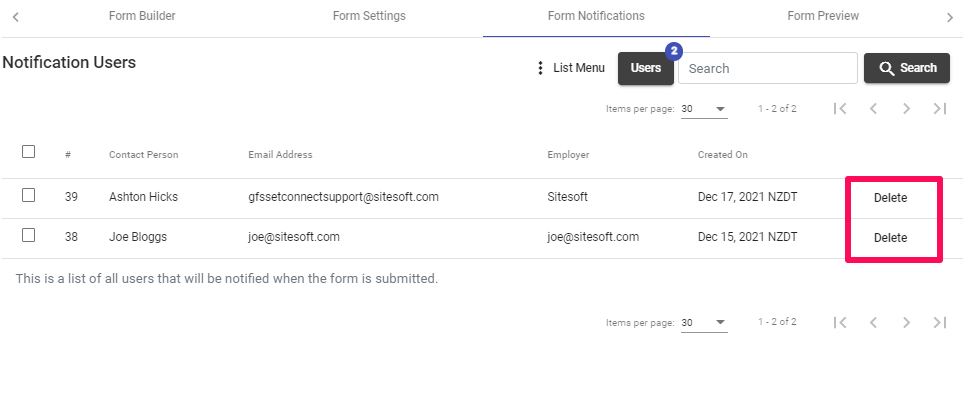
Your Users who will receive notifications will then appear in this list whereby you can choose to Delete them as well if you wish.
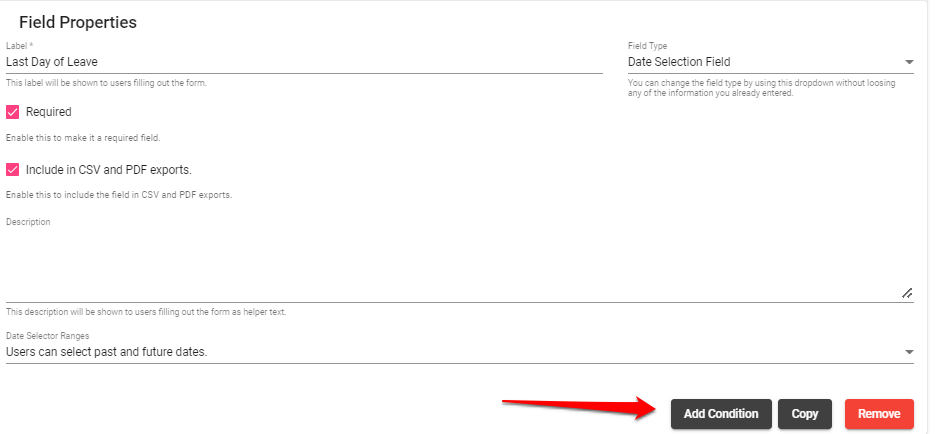
- Add Condition will now also be visible the bottom of each field when you expand each form field in the Form Builder. This will allow you to set behaviors for fields such as hiding certain fields depending on the answer that the User gives/option they select in previous fields etc.
For more detail on this feature please see this article.
If you need any further help or have any questions please contact the support team by email info@set-connect.com