Here you will learn how to create and manage your Hazardous Substances list within SetConnect
Creating Hazardous Substances Records:
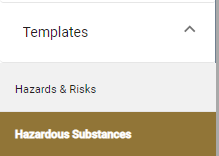
Within the SetConnect web portal, go to the Templates drop down on the left hand side, then select the Hazardous Substances option
From here select + Add

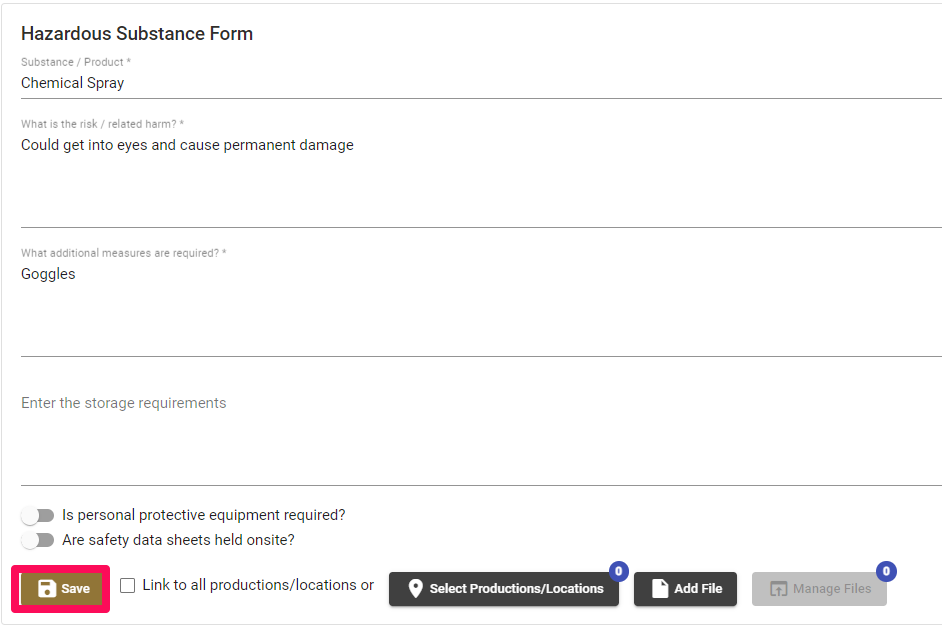
In the Hazardous Substance Form that appears, you will be able to fill in the following fields:
- Substance/product
- What is the risk/related harm?
- What additional measures are required?
- Storage Requirements
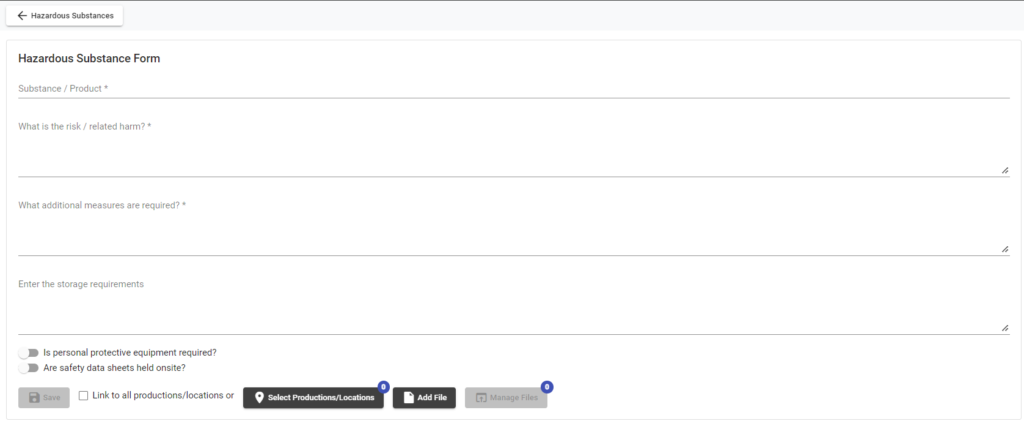
All fields with a * in them on this form are required fields. You will not be able to Save until you have filled these in.
You can also choose to toggle these two options on and off at the bottom of this form:
- Is personal protective equipment required?
- Are safety data sheets held onsite?

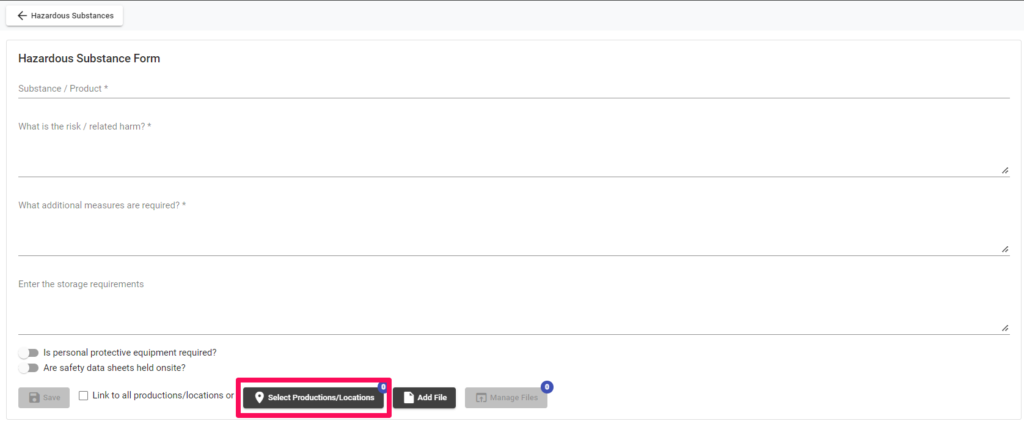
Once you have filled in all of your fields and have selected the appropriate options you can then assign the substance to any relevant productions/locations and add any relevant documents to the substance by clicking the two black boxes at the bottom.
Click Select Productions/Locations to bring up a dialog box where you can tick the relevant production or location (that has been added to your account) and/or search for it.
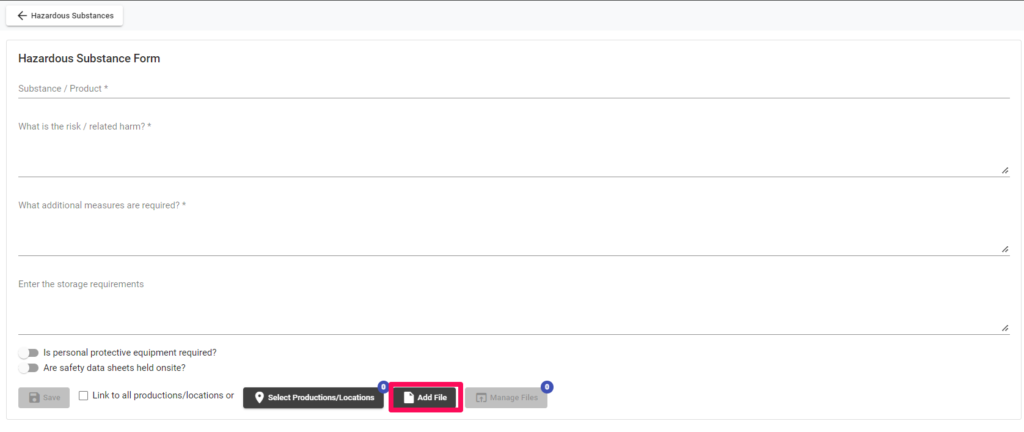
Click Add File to upload any files that are relevant to this substance.
Once you have completed the form and added any relevant productions or documents to your Substance then click Save to finalise this.
The substance will then appear in your Hazardous Substance List where you can choose to View, Edit, Clone or Delete it.

Viewing will bring up all the data you have filled in for this substance.
Editing will bring up the Hazardous Substances Form again so you can alter any details
Cloning the substance will make a duplicate copy of that substance which you can edit on its own.
Deleting the substance will give you the opportunity to remove it from this list.
For any SetConnect issues or questions please contact us at: info@set-connect.com