Learn how to create and manage hazards/risks in the SetConnect Web Portal
Please watch the following video on how to create and manage hazards/risks (4.31)
Read on for step by step instructions …
To create a hazard you need to click on Templates on the left-hand side of the main menu. Choose and click on Hazards & Risks.

Once you click on Hazards & Risks a list of hazard templates that have previously been loaded will appear on the right.

To create a new Hazard click on the +Add button.

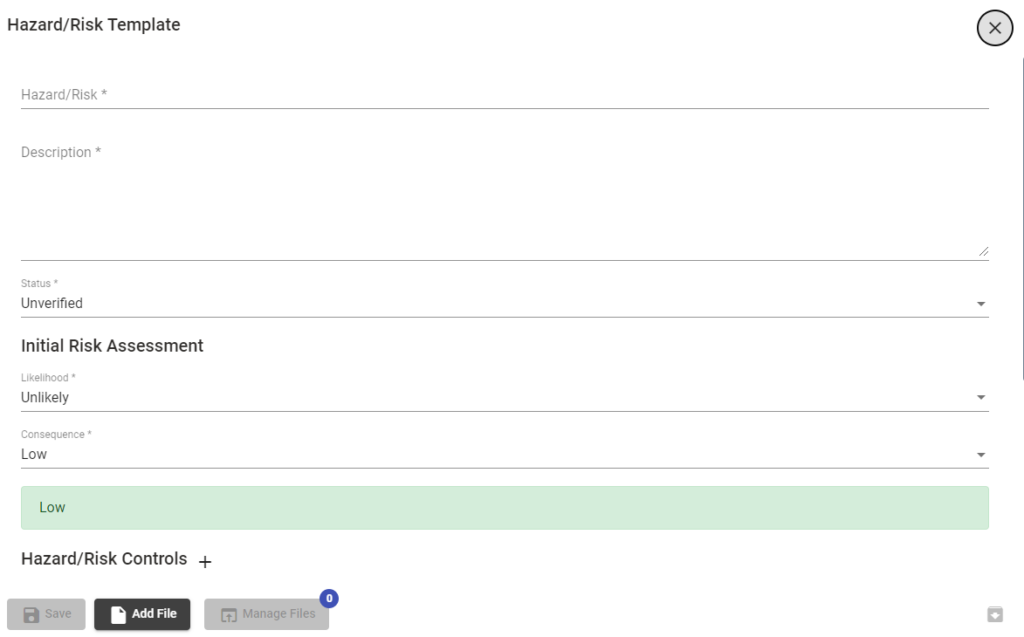
This will open up a new dialog box where you will be required to enter all relative details for the hazard.
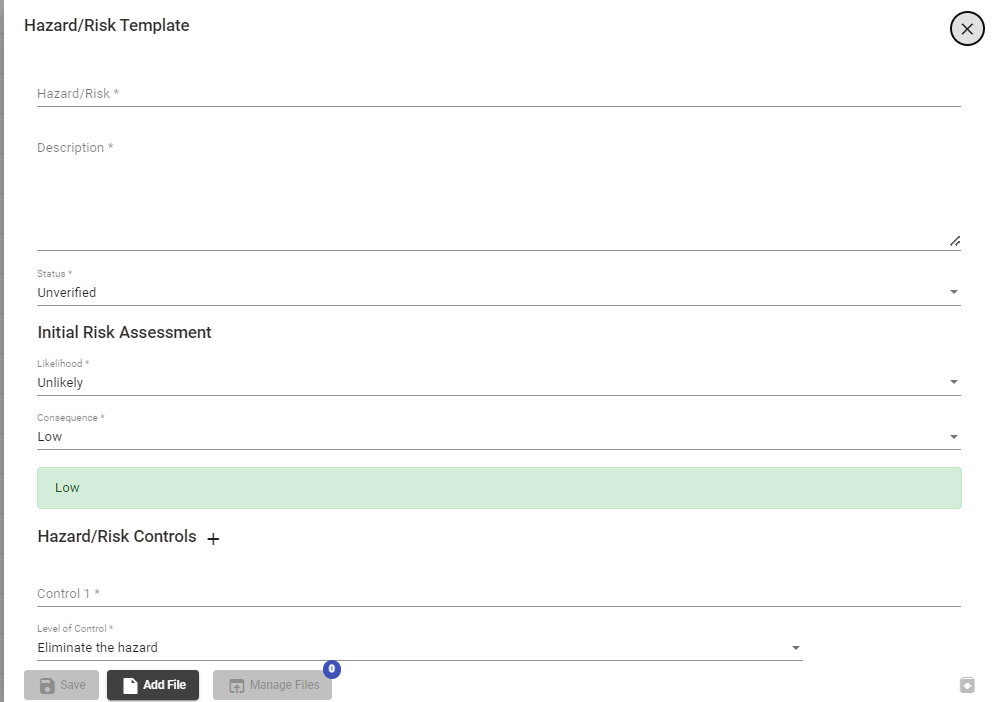
Entering Name and Description of Hazard
Enter the name of the Hazard/Risk and the description in the fields below.
How to Verify a Hazard
You are then given the option to Verify the hazard or risk. To Verify the hazard click on the Status drop down arrow on the right-hand side.
This will bring up a drop down box where you can chose to either verify or un verify the hazard. Click on the applicable option.
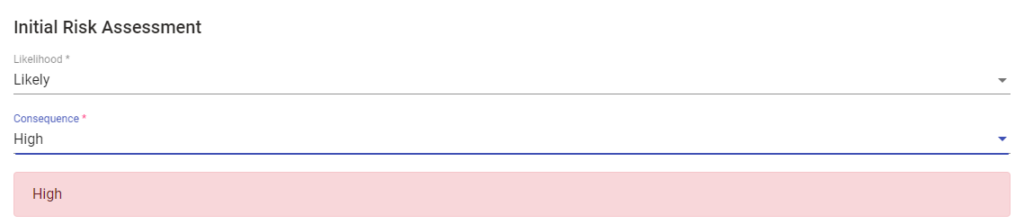
How to do an initial Risk Assessment
You will then be required to give an initial risk assessment for the hazard. To do this you click on the down arrows to the right hand side.

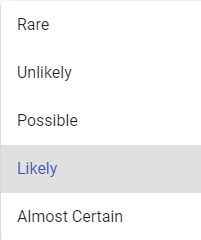
Likelihood
You will be given a choice of five options to chose from. Click on the best option for this hazard.
Severity
You will be given a choice of five options to chose from. Click on the best option for this hazard.
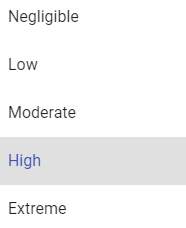
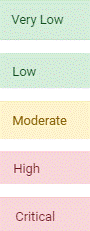
Once you have chosen the Likelihood and Severity options this will give you your Initial Risk Assessment rating for this hazard, which will be either Very Low, Low, Moderate, High or Critical and will show in a band below the Initial Risk Assessment dialog box.
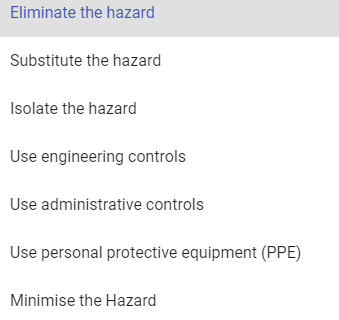
How to enter Controls for a Hazard/Risk
You will then be required to enter the Controls for this hazard. Click on Control and enter the control(s) for this hazard.
Once you have entered the details of the control you will need to enter the Levels of Control.
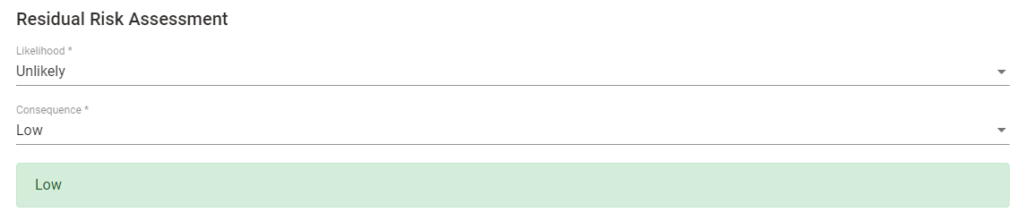
How to enter a Residual Risk Assessment
Once you have completed entering the controls you will then be required to do a Residual Risk Assessment for the hazard.
To do this you click on the down arrows to the right hand side of the Residual Risk Assessment dialog box; just as you did for the Initial Risk Assessment.
Likelihood
You will be given a choice of five options to choose from. Click on the best option for this hazard.
Severity
You will be given a choice of five options to choose from. Click on the best option for this hazard/risk.


Once you have chosen the Likelihood and Severity options this will give you your Residual Risk Assessment rating for this hazard, which will be either Very Low, Low, Moderate, High or Critical and will show in a band below the Residual Risk Assessment dialog box.
How to copy a Hazard/Risk to your productions/locations
You can then copy this Hazard/Risk to all productions/locations or copy to individual ones. To copy to all productions click on the Select all Productions/Locations Button. By doing this you are adding this Hazard/Risk to ALL productions within your system and you don’t need to do anything further.
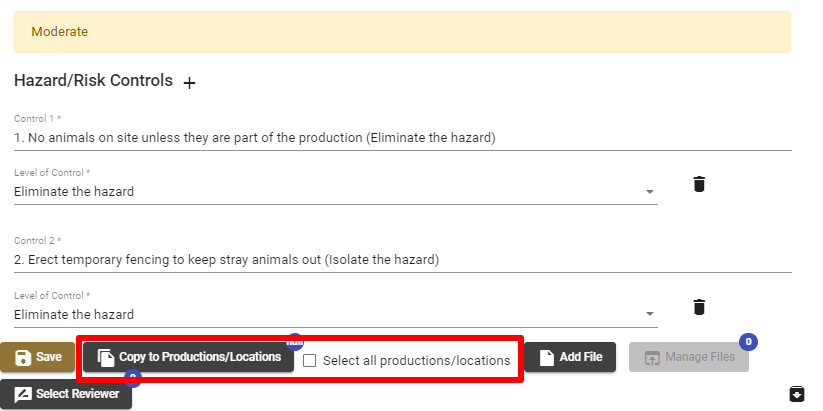
To copy to individual productions/locations click on the Copy to Productions/Locations Button. Once you click on this Button a list of all your productions/locations will appear.
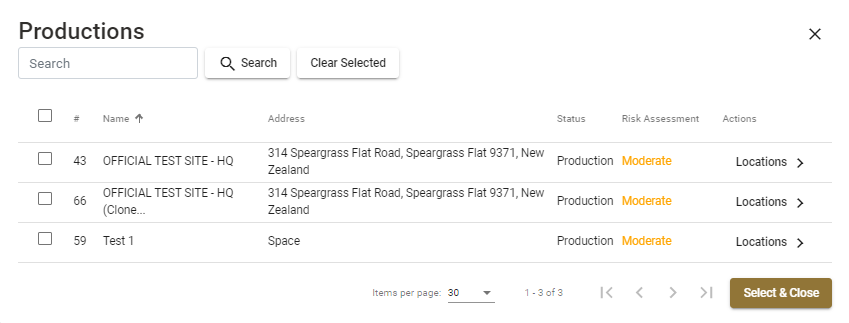
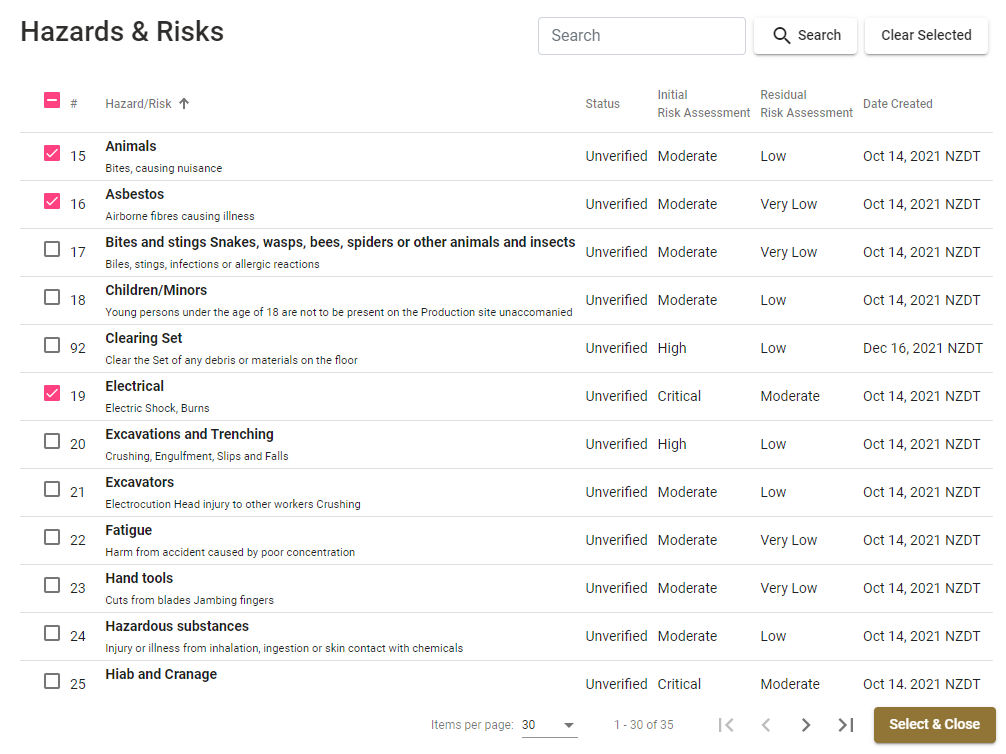
Click on the locations you wish to copy this Hazard/Risk to. On the top at the left you will see the number of locations or projects that you have applied this hazard to. Once you have chosen all the ones you want to apply this hazard to then click on Select and Close on the bottom right-hand side of the screen.
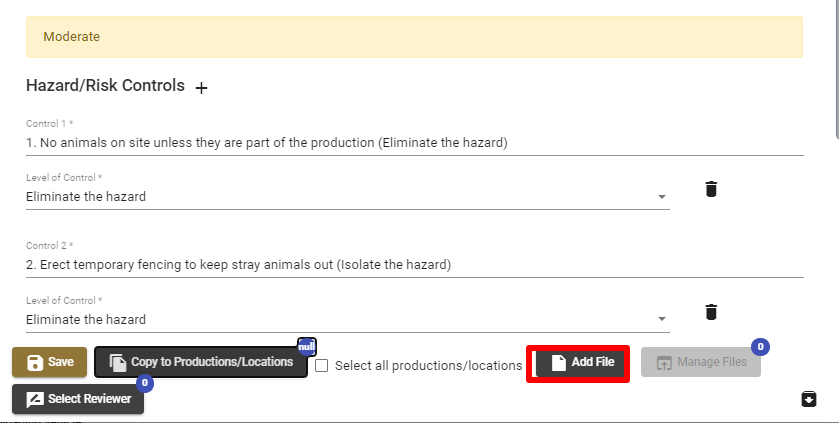
How to add a file to a Hazard/Risk
If you want to add a file to this hazard/risk, i.e. a picture of the hazard you can do this by clicking on the Add File Button. This will open up a dialog box so you can download files from your computer or the internet.
How to archive a Hazard/Risk
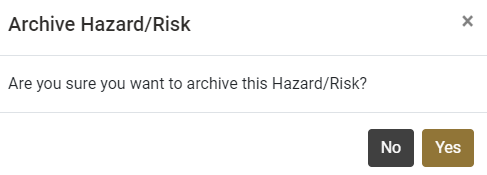
If you wish to delete this hazard you will need to archive it. You can do this by clicking on Archive for that Hazard.

Once you click on Archive this Hazard a dialog box will appear asking you to confirm that you want to delete this hazard. If you are sure click on Yes. This will archive the Hazard/Risk so that it is now not visible to all productions/locations that it was applied to.
How to manage your hazards from your productions/locations
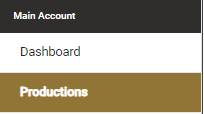
Go the main menu and click on Productions.
A list of all your productions will appear. Click on the Production (or location) that you wish to add the hazard to. Then click on Edit for that production/location on the right-hand side of the screen.

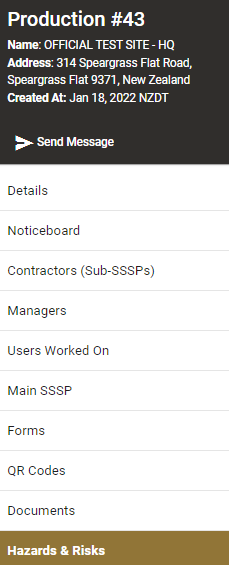
Then click on Hazards & Risks on the right hand side.
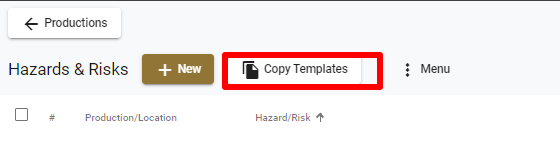
The list of Hazards that are already associated to that production will appear. You can either add a New Hazard by clicking on the New Hazard Button or you can copy existing hazard templates to this production.

To copy existing Hazards to this production/location click on the Copy from Templates Button. This will give you the option to Select from Templates or Copy all Templates. If you click on Copy all Templates this will automatically upload all your Hazard Templates.
If you want to select certain templates then click on Select from Templates. This will list all the available templates. You can tick off on the ones you want and then click on Save and Close.
If you wish to remove a hazard from a specific production then click on the Archive Button next to the hazard you want to delete.
A dialog box will appear asking you to confirm that you want to Archive the Hazard from this Production or Location. If you are sure then click on Yes. This will unlink the hazard from this production/location only.
For any SetConnect issues or questions, please contact our support team by email at info@set-connect.com