Here you will learn how to manage an incident that is reported within SetConnect
Please watch the following video on how to manage in incident (4.54)
Read on for step by step instructions …
Incidents Menu
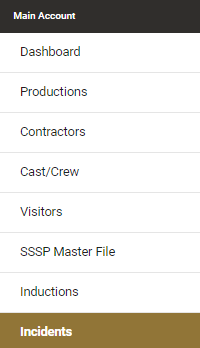
Click the Incidents tab on the left hand side.
You will see a list of all of your existing incidents. Click Manage on the incident that you want to manage.

This will bring up the following Overview dialog box where you can edit the details of the incident itself.
On this page you will also see the following tabs:
- LTI- Lost Injury
- Investigation
- Causes/Corrections
- Witnesses
- Notes
Click on each one to bring up the menu for them
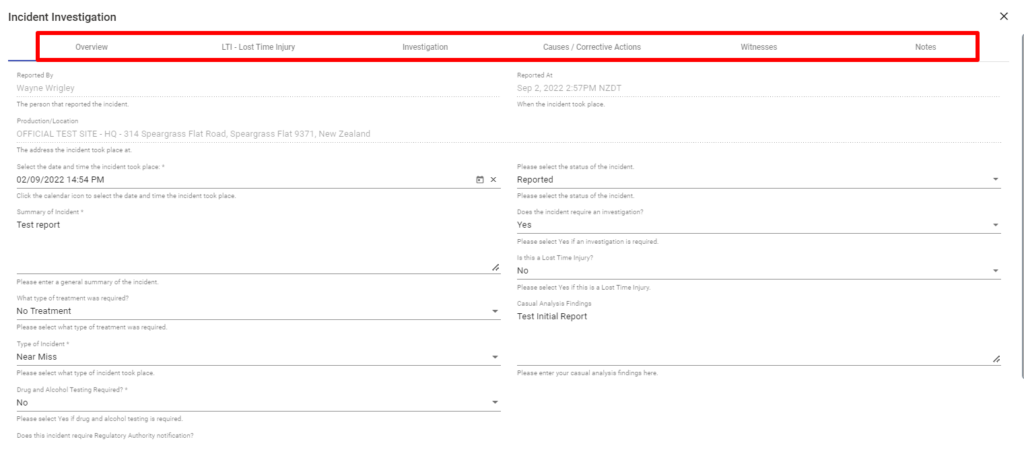
Overview:
In the Overview section you can change any of the details entered when the incident was initially Reported.
This includes:
- Summary of the incident
- Date of the incident
- Types of treatment and incident
- Drug/Alcohol testing requirements
- Who was involved
- Worksafe notification requirements
- Status of incident (Completed etc.)
- Investigation requirement and notes
- LTI status
- Causal Findings
You can also add any necessary files and the users affected from the incident from here.
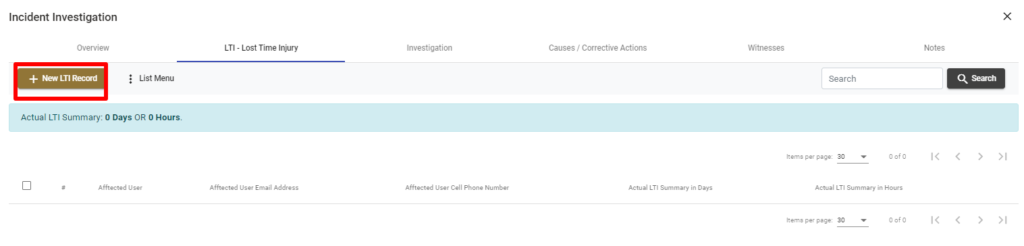
LTI- Lost Time Injury
A Lost Time Injury is an injury that leads to any cast/crew member taking extended medical leave from work duties.
Once you click on the LTI- Lost Time Injury tab on the top of the Incident manager, click New LTI record to record a new LTI injury.
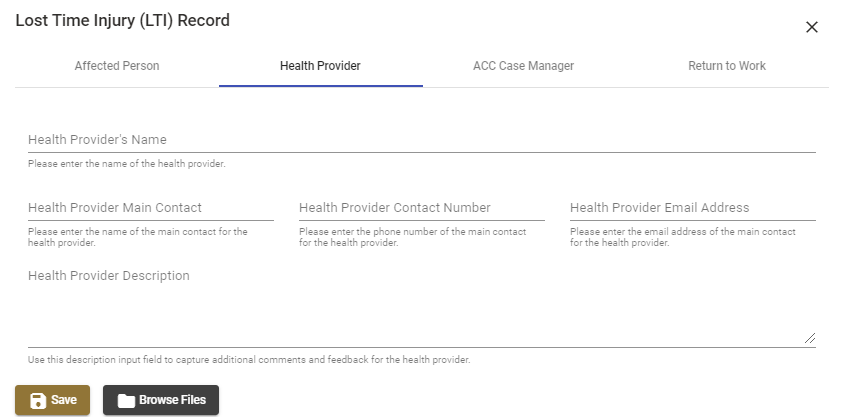
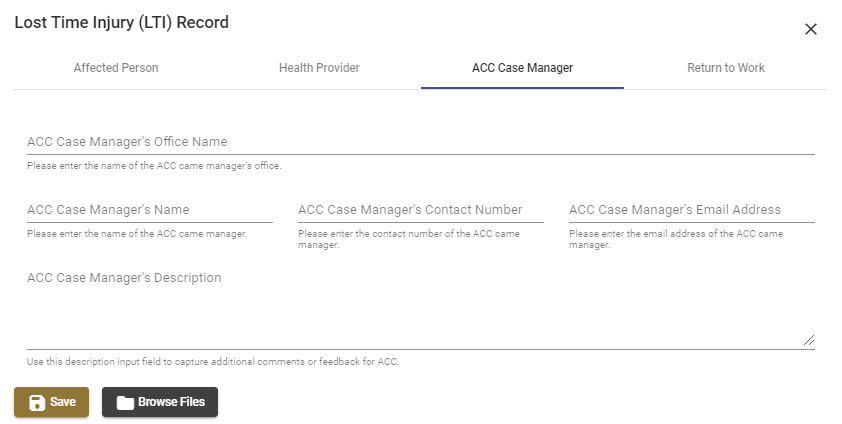
You will then see the following tabs on the top of the dialog box that appears where you can fill in the following details:
- Affected Person- person who has been injured, their contact number and their email address
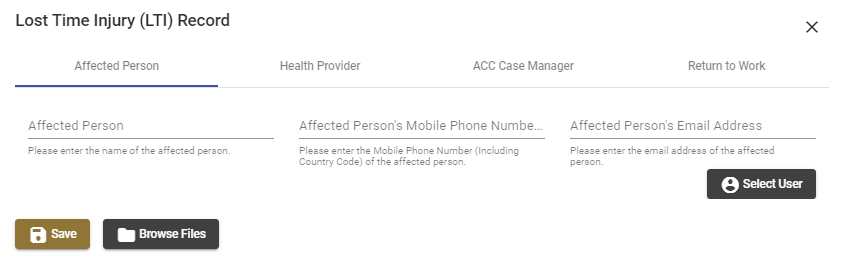
- Health Provider- Health providers name, main contact, description, contact number and email address
- ACC Case Manager- Office name, managers name, description, contact number and email address
- Return to Work- Estimated date of return to work, actual date employee returns and description
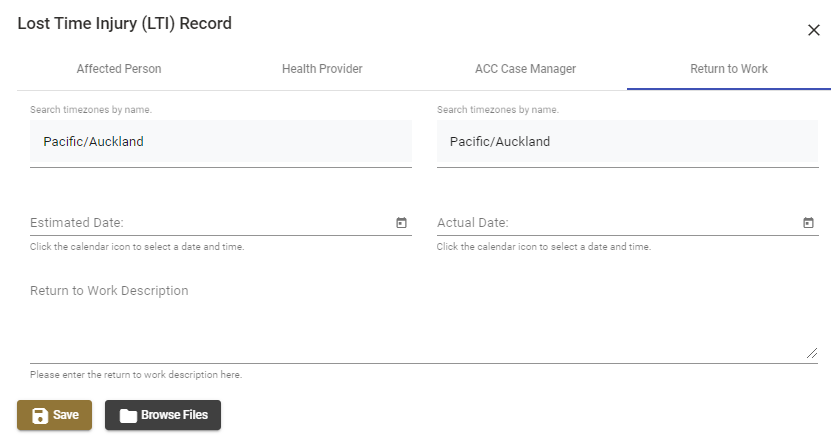
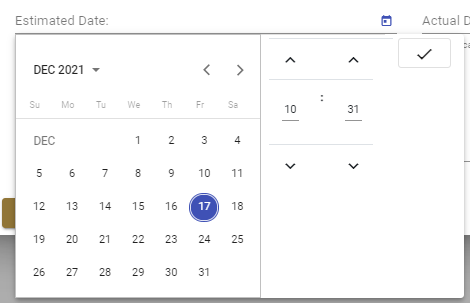
To select a estimated date and an actual date, click the calendar icon on each of the text boxes, select a date then click the tick.
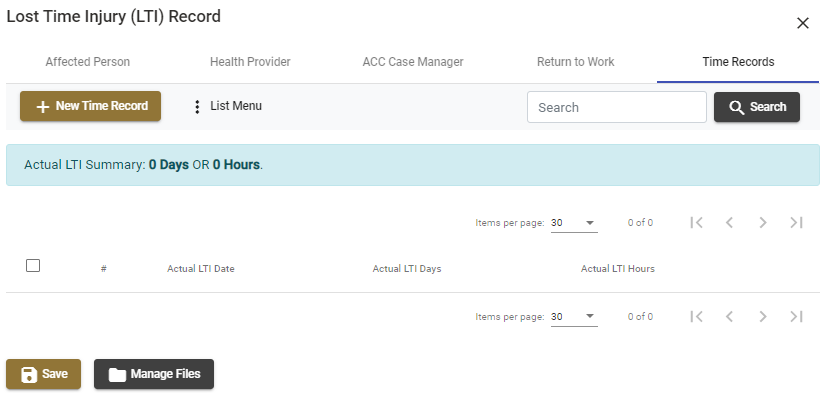
When you Save a Return to Work timeframe a new option will appear on the top entitled Time Records.
When clicked, this will bring up a new menu whereby you can create a New Time Record.
Once clicked, a dialog box will appear where you can select a date for a new LTI Time Record. To set a date, click the calendar icon to bring up a series of dates to choose from.
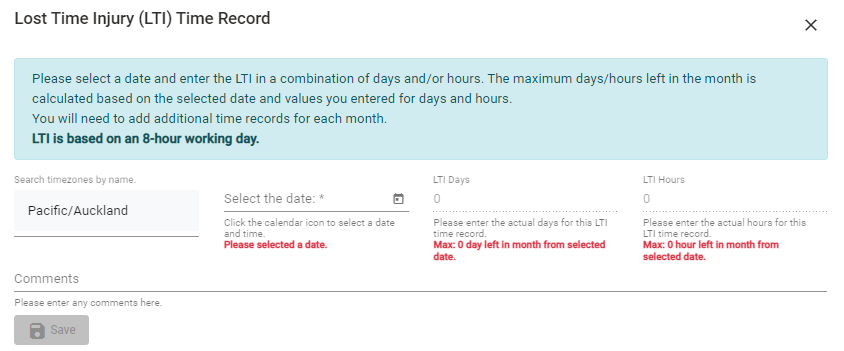
Once you select the right date, click the tick to save this date.
You can then select the LTI days taken from the date you have selected and the amount of hours.
PLEASE NOTE- this is only recorded on a monthly basis. This means that you will only be able to select the remainder of the days in the month that the date you have selected is in.
If the LTI days and hours for this injury expand over this month then you will need to add another Time Record/date by Saving then adding another Time Record.

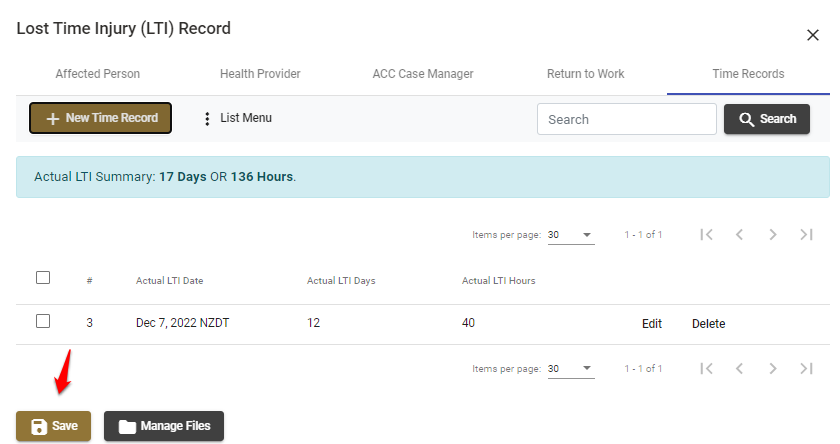
Once you have created all necessary Time Records as well as any other changes you can click Save and this will be added to the LTI for the incident.
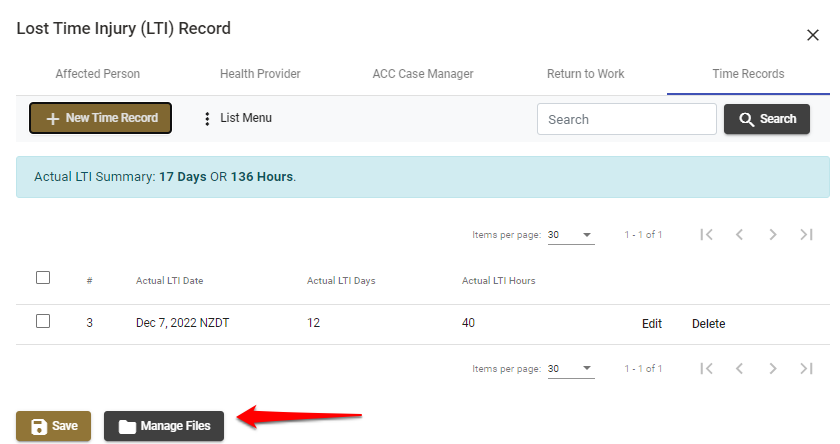
You can also Manage/add any Files for the LTI using the Manage Files box.
Investigation
Click the Investigation tab on the top of the Incident Management menu to bring up the following menu:
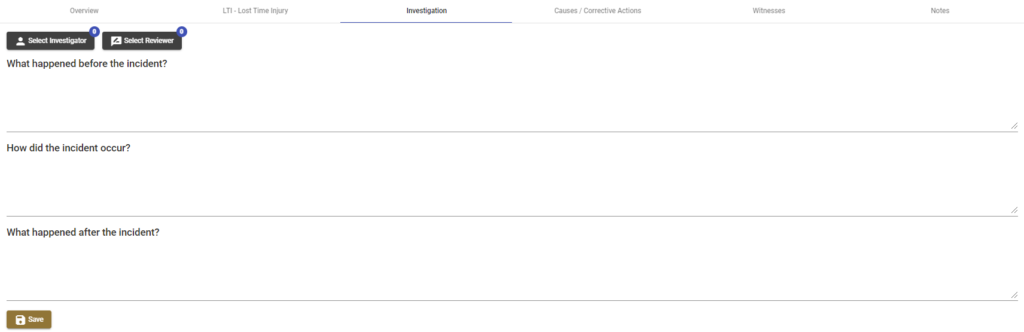
From here you can fill in the following items.
- What happened before the incident
- How did the incident occur
- What happened after the incident
You can also select an Investigator from your team and a Reviewer.
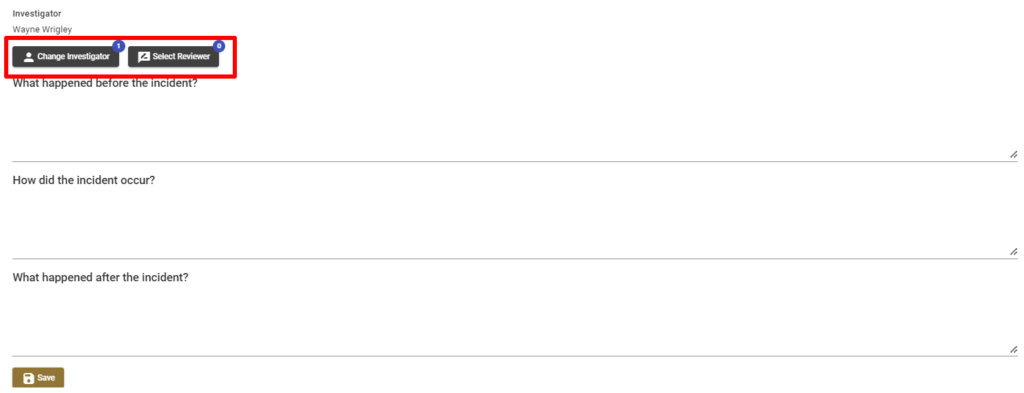
For both options, this will bring up a box whereby you can search for or select your Cast/Crew from a list for this role.
Once your Cast/Crew member has been selected, your investigators name will appear in the Investigation menu.
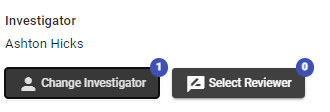
This will also happen for the Reviewer that is selected.
Courses/Corrective Actions
Click the Courses/Corrective Actions tab to bring up the following screen.

To add a new action, click Add Cause. This will bring up the Incident Cause Form.
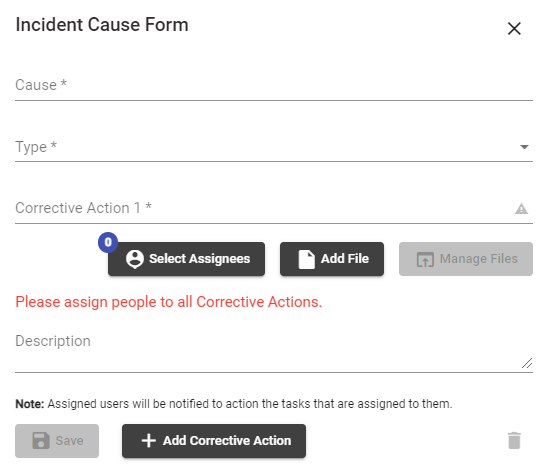
From here you can fill in the Cause, Type (choose from Primary or Secondary from drop down menu), Corrective Action to be taken and a description (what specifically makes this a cause).
You can then add another Corrective Action to take for this incident if required by clicking Add Corrective Action.
This will add another action to this list.
You can also select an Assignee for each corrective action and appropriate Files if necessary.
Witnesses
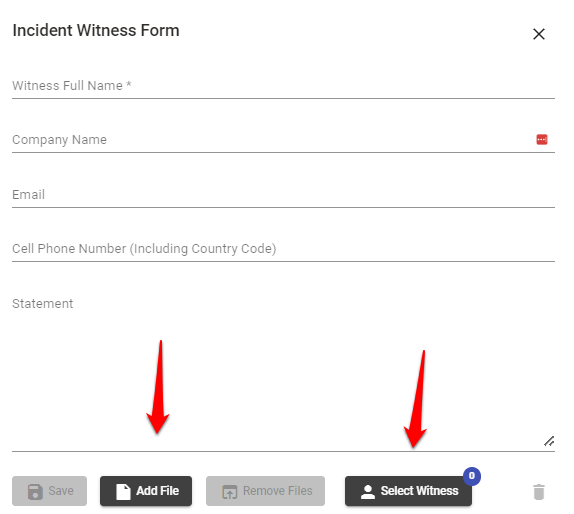
Click the Witnesses tab to bring up the following screen. Click Add Witness to create a new witness for this incident.

This will bring up the Incident Witness Form where you can fill in the following:
- Witness Full Name
- Company Name
- Phone Number
- Statement

You can also Add any appropriate Files by clicking Add File and Select the Witness from your networked Users by clicking Select Witness. This also does not have to be a networked user and you can fill in the name of anybody to Save this.
Once you have filled in the name of the Witness you can click Save to save this witness.
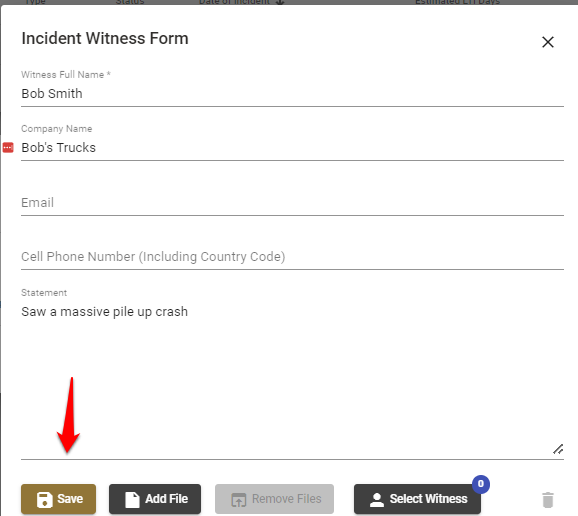
You can also delete the Witness at any time by clicking the Bin icon in the bottom right hand corner.
Notes
Click the Notes tab to bring up the following screen. Click Add Note to create a new witness for this incident.

This will bring up the Incident Note Form
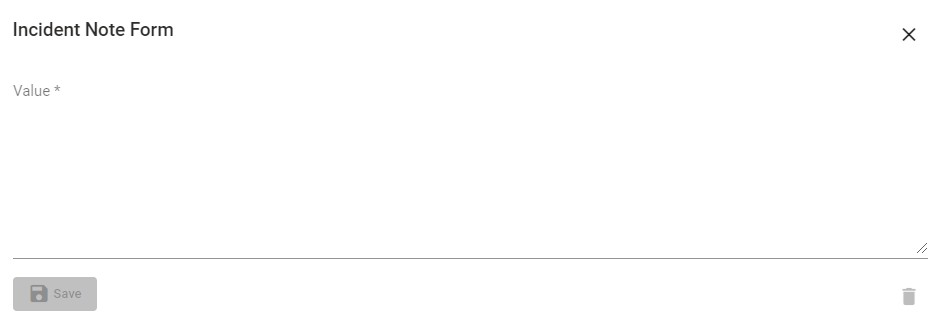
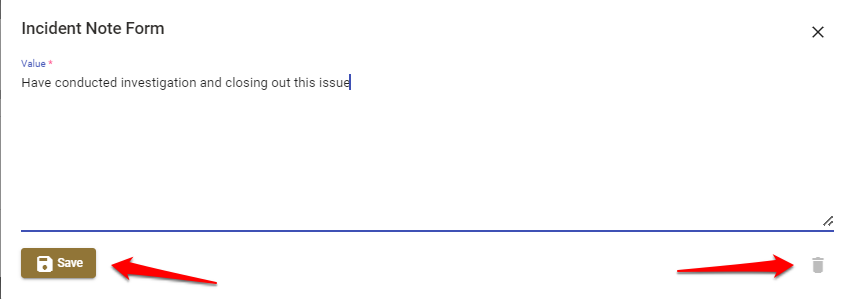
You can write in your note in the Value text box.
Once you have filled in the text box you can either Save your note for this incident or Delete the note using the Bin icon on the lower right hand corner of the form.
For any SetConnect issues or questions, please contact our support team by email at: info@set-connect.com