Learn how to create and manage an Induction for users within your connected SetConnect network
How to create and manage an Induction
Please watch the following videos on how to create and manage inductions (5.27)
PART 1 – Account Inductions
PART 2 – Inductions using form templates
Coming soon!
Read on for step by step instructions …
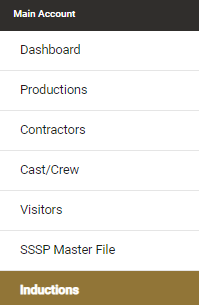
To create an induction click on the Induction tab on the main menu on the left hand side of the web portal. This will take you to the Inductions menu.
Click on Add Induction

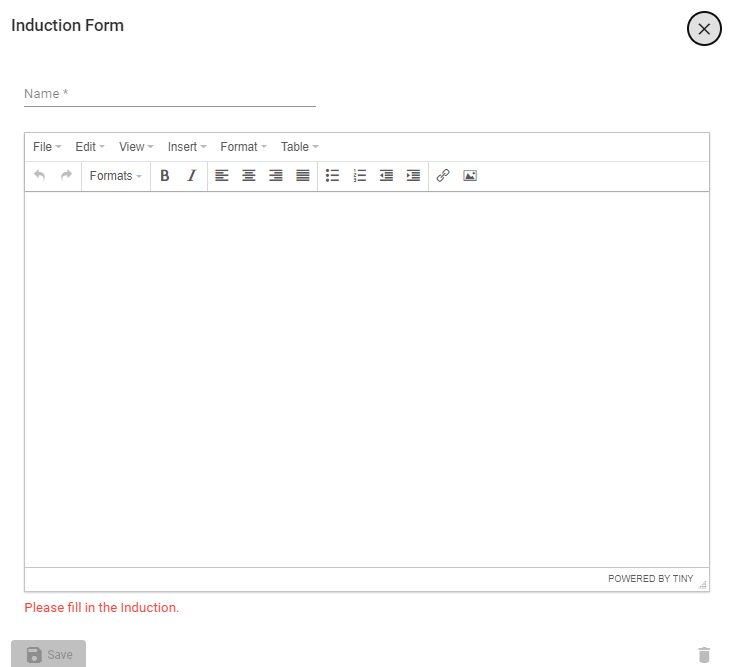
This will open a new dialog box where you can enter the name of the induction and any other relevant information in the free text dialog box
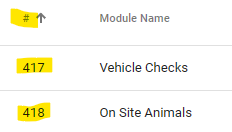
This will create your Induction. Now you can add modules to your induction by clicking on Modules on the right-hand side of your screen.

Now click on Add Module.

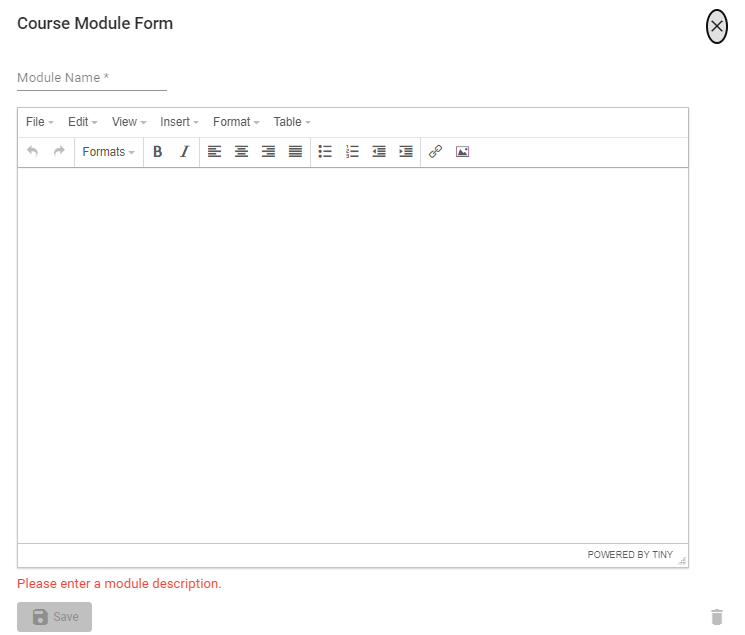
The below dialog box will appear. Enter the module name in the Module Name field and contents in the free text dialog box below. Once complete click on Save.
You can add a Sub-section to each Module by clicking on Sub-sections.

Now click on Add Section.

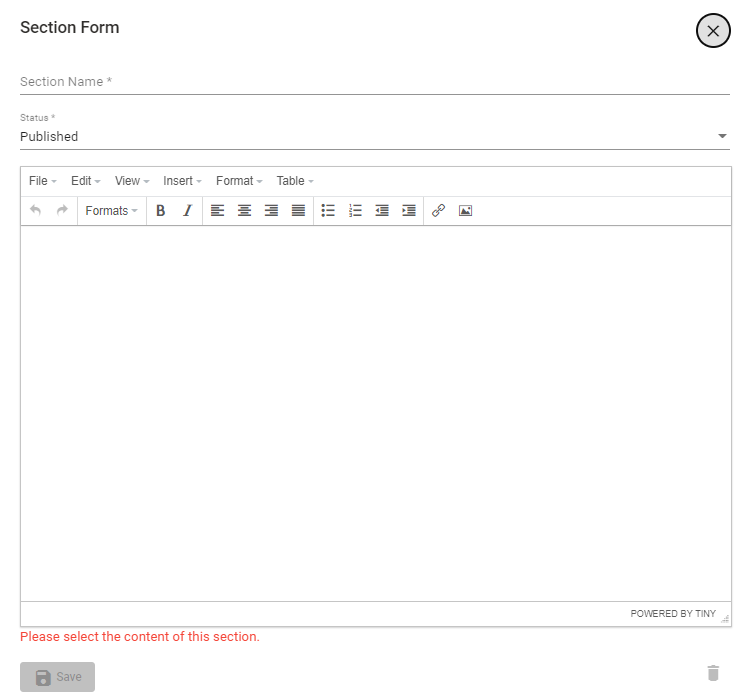
The below dialog box will appear. Enter the section name in the Section Name field and contents in the free text dialog box below. Once complete click on Save.
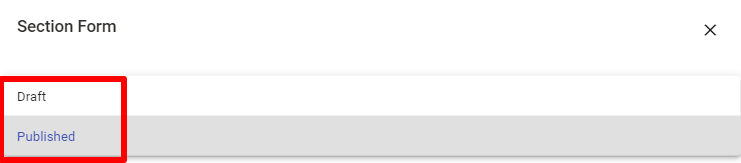
You can also choose whether or not the Sub-section is in Published or Draft format. If in draft format it will not be visible to anyone completing the induction. The default setting is Published. To change to Draft click on the down arrow on the right-hand side.
This will open up a dialog box which gives you the option of Draft or Published. Click on the relevant option.
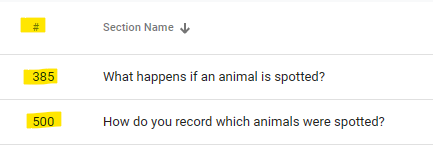
This new sub section will then appear in your Sub Sections list for that particular Induction. If you need to go back to the Modules or the entire Induction itself then just click the Modules or Inductions links as seen here.

For any SetConnect issues or questions, please contact the support team by email at info@set-connect.com