Learn how to create an incident from your Set Connect Web Portal
Creating Incidents
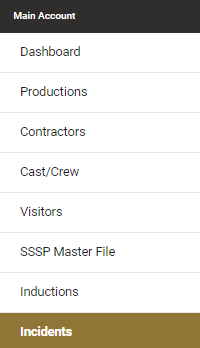
To manage your incidents go to the side menu on the left hand side of the web portal and click Incidents.

You will then see a list of all of your previously recorded incidents. Click on Add Incident to record a new one.

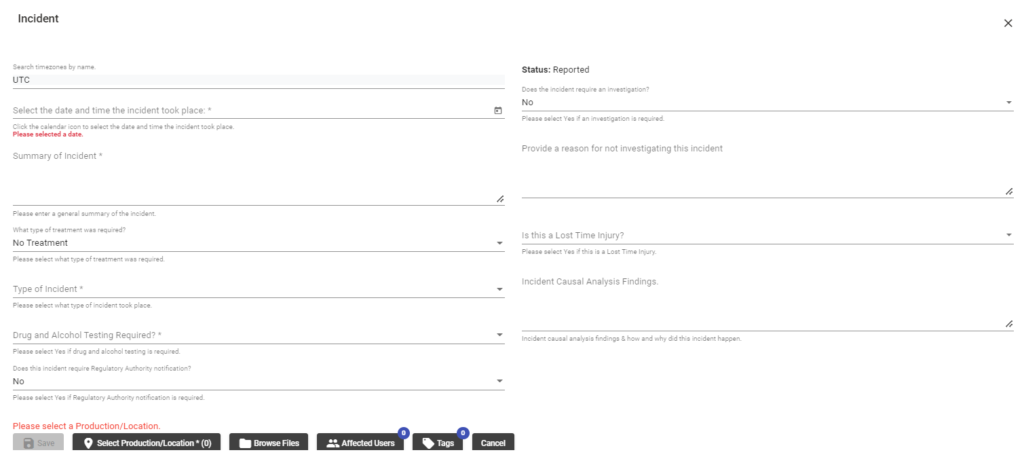
This will bring up the Incident form editor below

From here you will be able to fill in the following:
- Date & Time- Select the time and date the incident took place. Click the calendar icon to select from a calendar view
- Summary of Incident
- What type of treatment was required (choose from drop down menu)
- Type of Incident- Near Miss, Property Damage, Illness etc. (choose from dropdown)
- Who was involved
- Drug & Alcohol Testing Required? (Y/N)
- If the incident requires a WorkSafe Notification (Y/N)
- Does the incident require an investigation?
- Provide a reason for investigating the incident
- Is this a Lost Time Injury (Y/N)
- Causal Analysis Findings
You will then Select the productions/locations you want to associate with this incident by clicking Select Productions/Locations.

Then tick the productions or locations you want to associate and click Select & Close.

You can also add/upload any relevant files by clicking Browse Files.

Then select the affected users by clicking Affected Users button and then ticking off each user that was affected.

Once all Productions/Locations, Files and Users have been selected and uploaded, you can click Save.
You will then be able to see this in your Incidents View and Download as a PDF if required

For any SetConnect issues or questions, please contact us by email at: info@set-connect.com